

Grandma’s Homemade Easter Bread

This recipe has been passed down through generations, from my great-grandma in Italy to my grandma in a small American coal town, then shared by my sisters, and now a sweet tradition in my own kitchen.
It’s made with eggs, cream, butter, and sugar, giving it that rich, tender texture we remember from childhood.
Over 100 years ago, my great-grandmother brought her bread recipe across the ocean to an American coal town. My grandma learned it from her, and every Easter, they baked 32 loaves in a single day for families in their community.
With no running water at home, they hauled buckets from the coal tipple and baked in outdoor brick ovens, keeping the tradition alive with love.
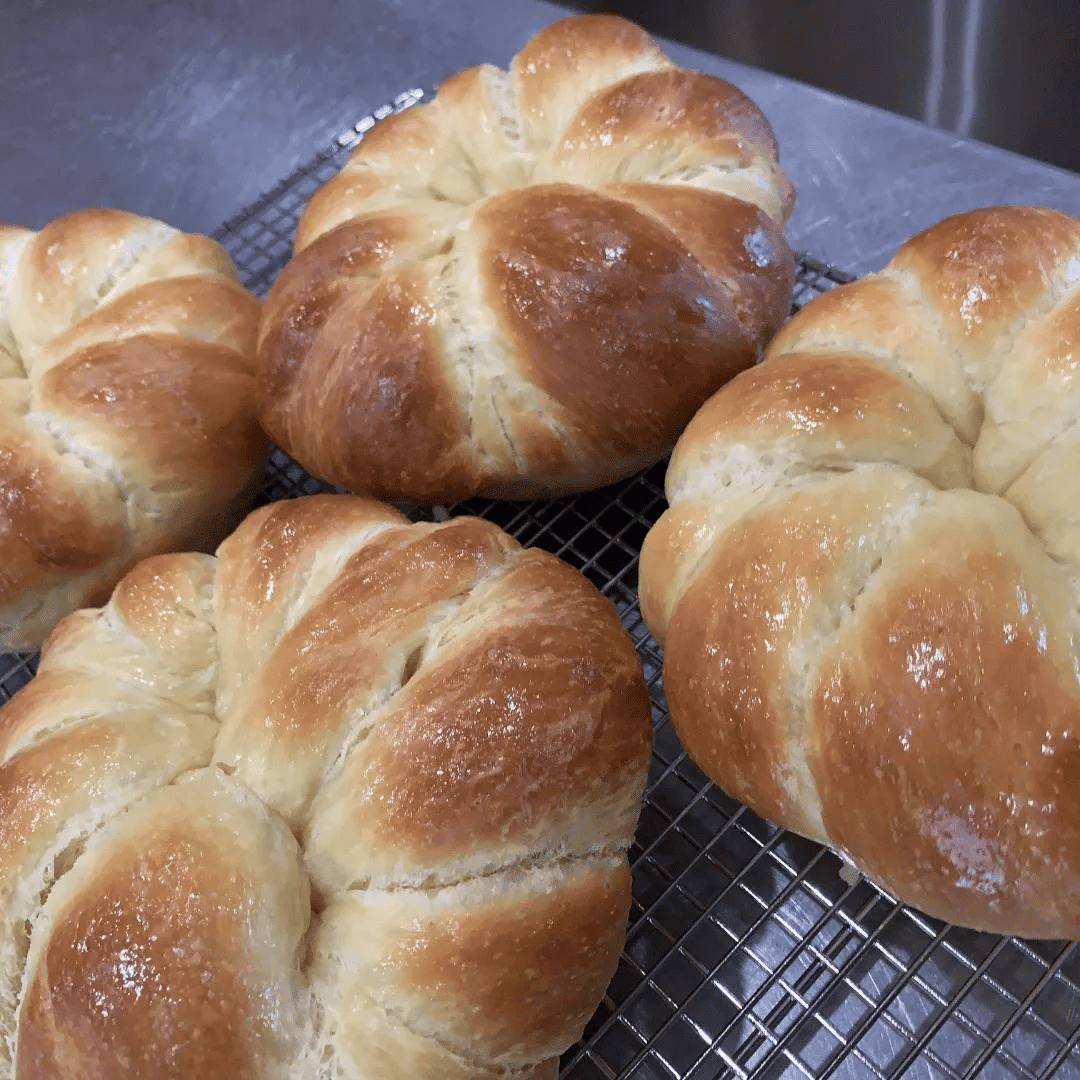
What comes out of the oven is golden, rich, and full of comfort, just the way Grandma made hers.
This recipe makes 4 loaves, each baked in a 6-inch pie plate.
At a Glance: Total Time: 6–7 hours • Yield: 4 small loaves • Difficulty: Cozy afternoon project
Time Guide: Prep 30 min • 1st Rise 1 hr 15 min • 2nd Rise 1 hr 15 min • Final Proof 1.5–2 hr • Bake & Cool ~1 hr
Welcome
Come on in, grab a cup of coffee, and let’s bake together.
If you’ve never baked bread before, I’ll walk you through every step, with tips and photos to help you feel confident along the way.
Take a minute to read through the recipe, especially the rising times, so everything feels a little easier once you start.
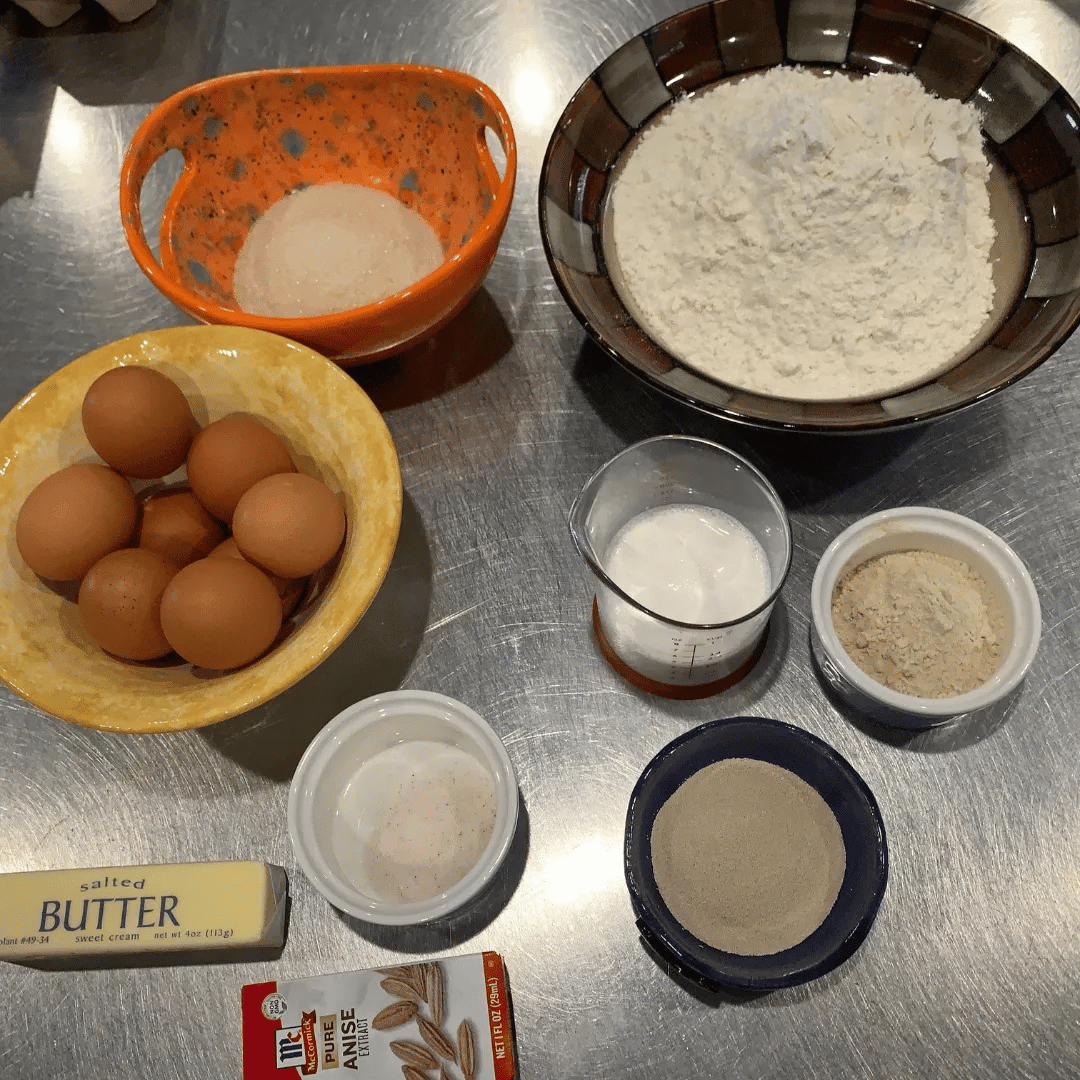
Ingredients
8 large eggs
About 1⅔ cups / 391g total.½ cup half & half
5 tsp instant dry yeast
6 cups (720g) all-purpose flour
I use King Arthur All-Purpose Flour, but any all-purpose flour works well.½ cup (100g) granulated sugar
¼ cup (30g) vital wheat gluten
Optional, but helps with structure and rise. Grandma never used it, and her bread was always wonderful.2 teaspoons (12g) salt
2 tablespoons (1 oz) pure anise extract
Adds that classic Easter bread flavor. You can leave it out if you’re not a fan. My sister, Mary Catherine, adds a small bottle of anise oil (like the LorAnn oils) along with the extract for a much stronger flavor.1 stick (½ cup / 110g) salted butter, melted
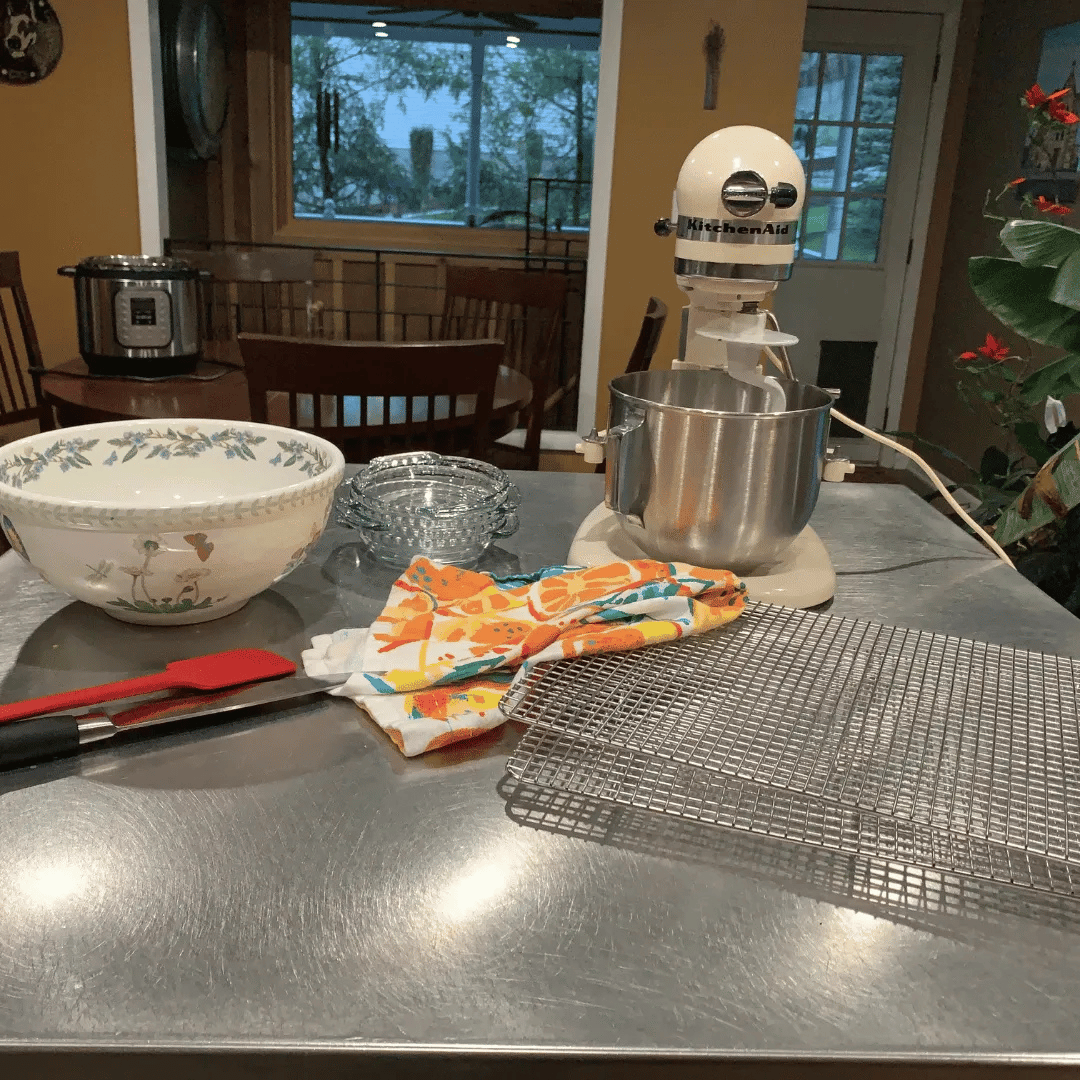
Tools & Supplies
My sisters and I make ours in a KitchenAid mixer, it brings the dough together quickly and kneads it just right. If you’re using a different stand mixer, just watch for a dough that feels tacky and smooth.
Kneading by hand, just like Grandma did, still works beautifully.
You don’t need a thermometer or kitchen scale, Grandma never used one, and her loaves were always perfect.
Crisco or nonstick spray
For greasing bowls and platesFour 6-inch pie plates
This recipe makes 4 loavesBaking sheet optional
For placing plates on for easier handlingPlastic wrap or storage bags
For wrapping the loaves once they’ve cooledFlour, towel, or lint-free cloth
To gently cover the dough and prevent a dry crustThermometer optional
For checking liquid temperature or donenessStand mixer with dough hook optional
Or knead by handKitchen scale optional
Two cooling racks
To cool the loaves fully and prevent soggy bottomsInstant Pot optional
Can be used on the Yogurt setting to create a warm spot for rising.
Let’s Begin
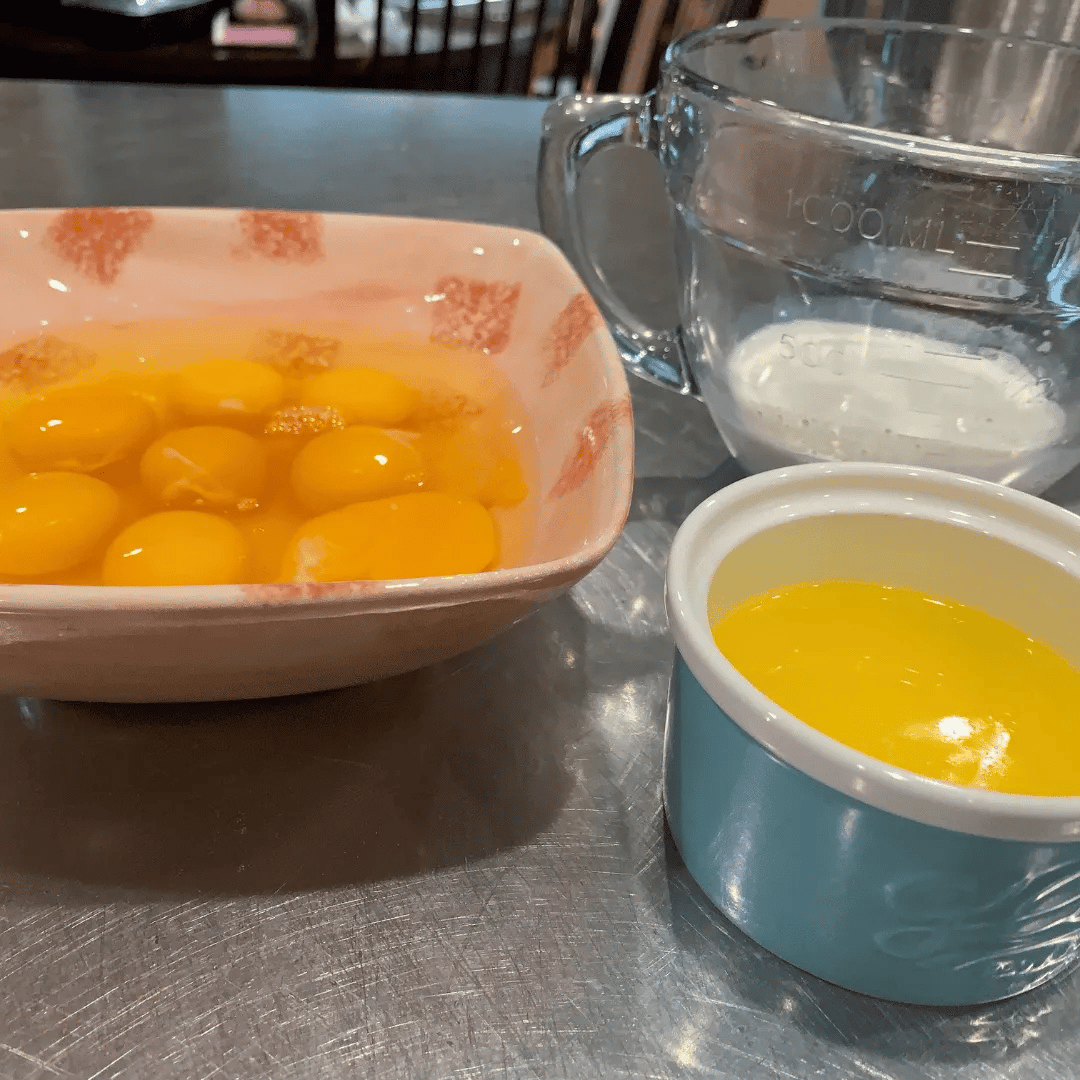
Step 1: Prepare Butter, Eggs & Half-and-Half
Melt the butter and let it cool slightly, it should be warm but not hot (under 100°F is perfect).
Let the eggs come to room temperature.
Tip: If you're short on time, place them (in the shell) in a bowl of warm water for about 4 minutes.Warm the half & half in the microwave for about 20–30 seconds, or until it reaches around 110°F, warm to the touch.
Tip: Microwave ovens vary, so the time to reach 110°F can differ. If you have a thermometer, it’s helpful here, or just aim for warm to the touch.
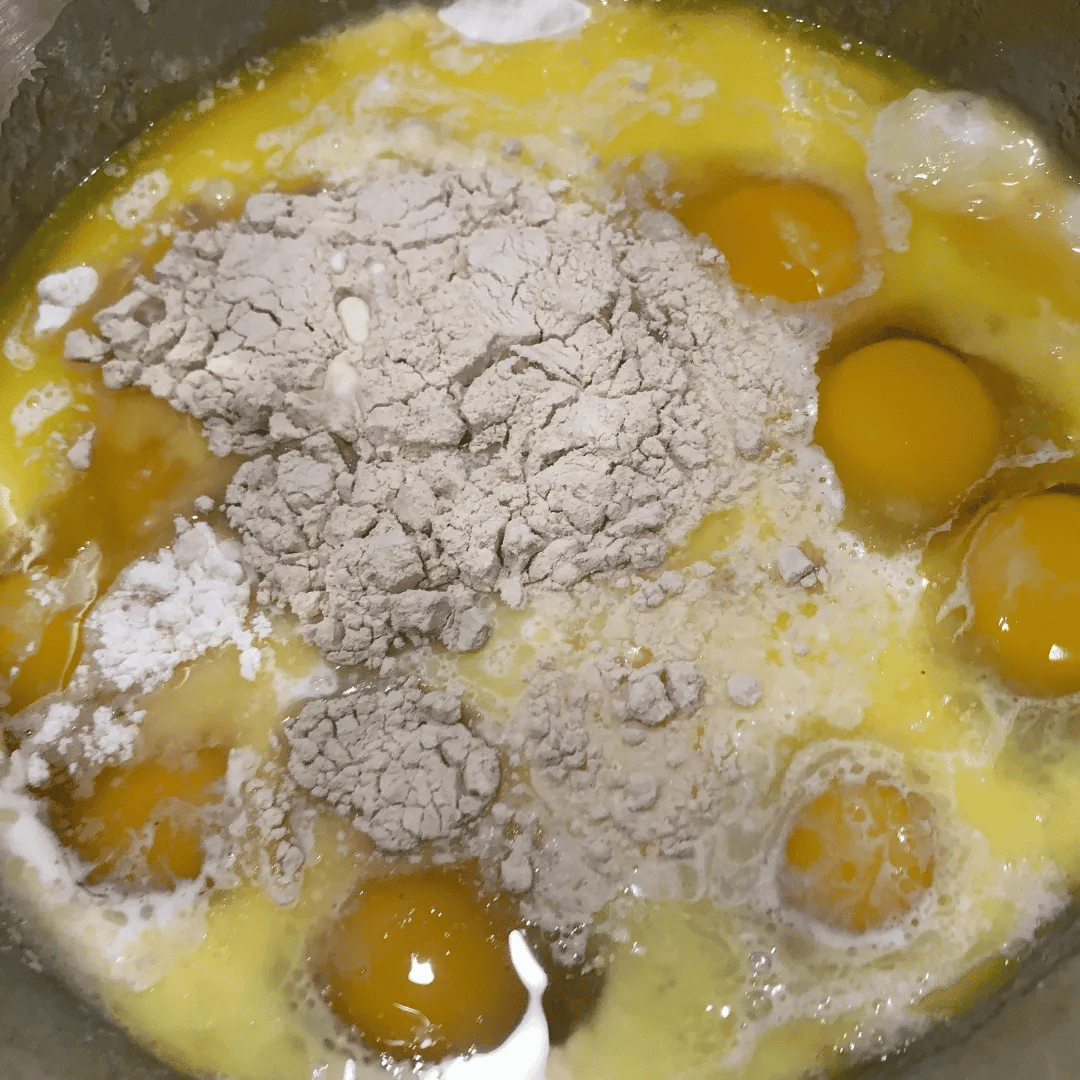
Step 2: Add Ingredients to Your Mixing Bowl
In a large mixing bowl, lightly greased (or the bowl of your stand mixer), combine the following:
The order of the ingredients isn't a big deal for a quick “dump and mix” method.
If you let the bowl sit before mixing, it’s best to layer ingredients in the order listed. That will keep the yeast away from the salt.
6 cups (720g) all-purpose flour
½ cup (100g) granulated sugar
¼ cup (30g) vital wheat gluten optional
2 teaspoons (12g) salt
8 eggs
2 tablespoons (1 oz) pure anise extract optional
1 stick melted butter, cooled slightly
½ cup half and half, warmed slightly
5 teaspoons instant dry yeast (add last)
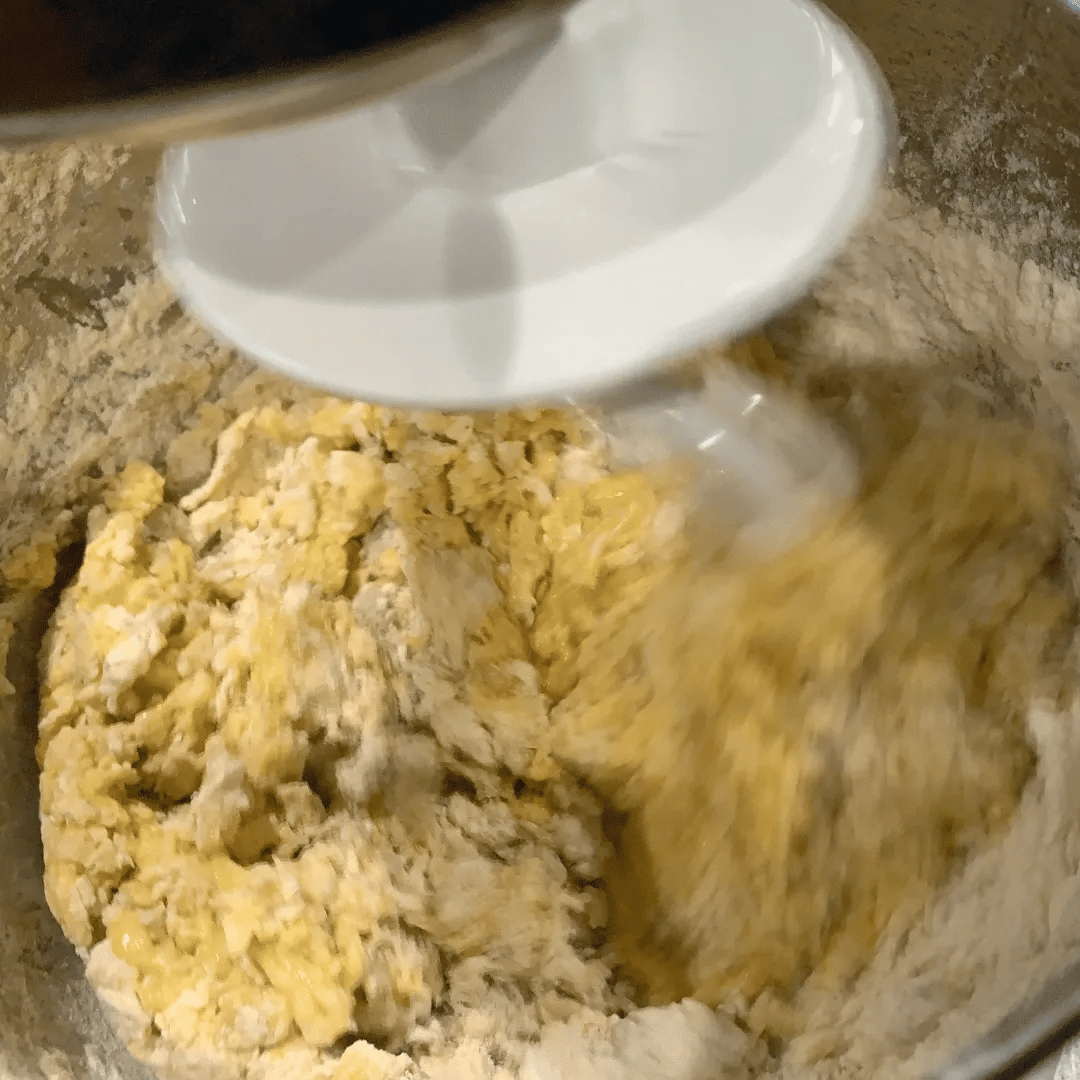
Step 3: Mix the Dough
Mix the dough for 6 to 8 minutes on speed 2.
(Speed 2 works well for most stand mixers. I’ve found that about 6 minutes is just right.)
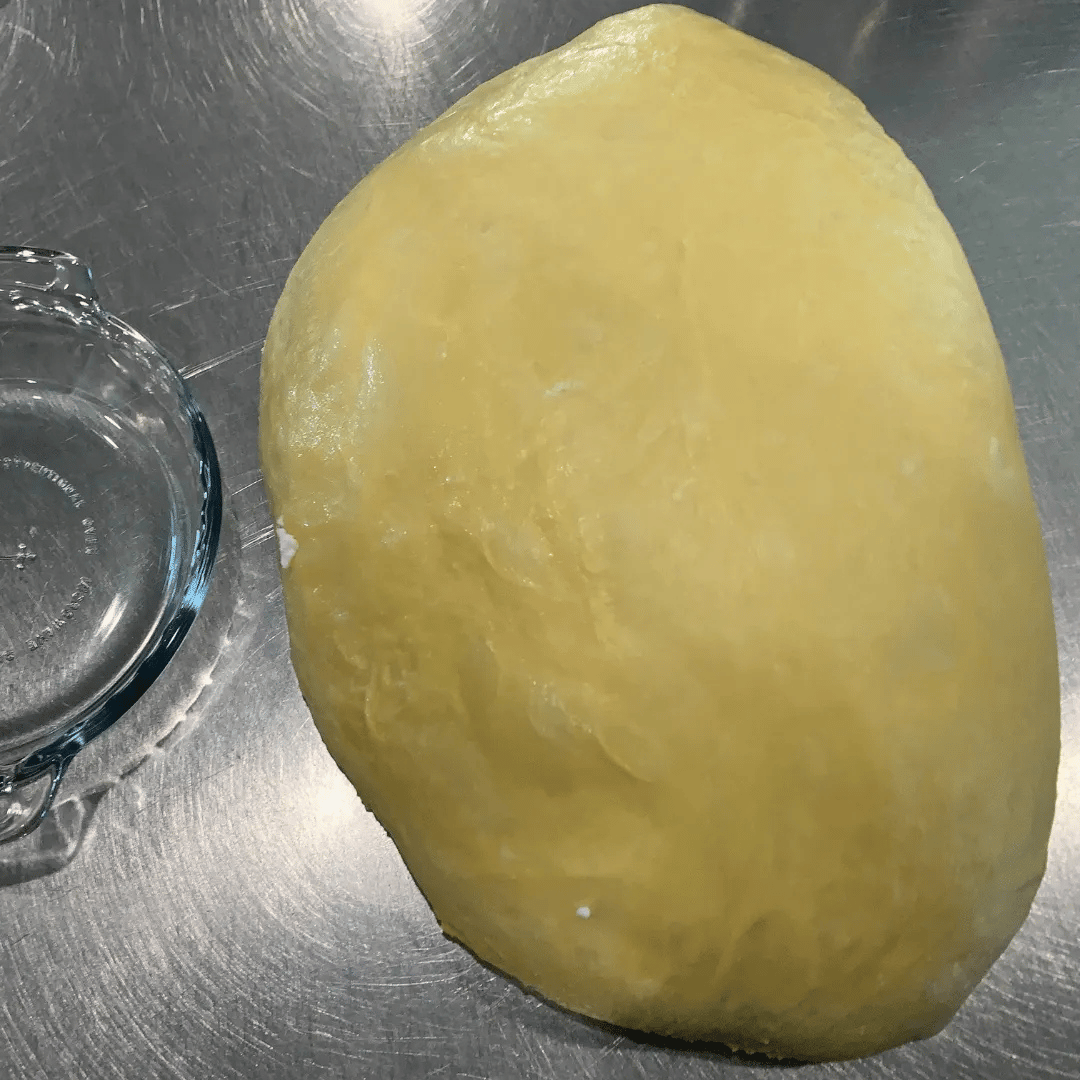
The dough should look soft and stretchy, maybe a little loose in the bowl, that’s exactly what you want for a rich, eggy dough.
You’re aiming for a soft, tacky texture, not soupy.
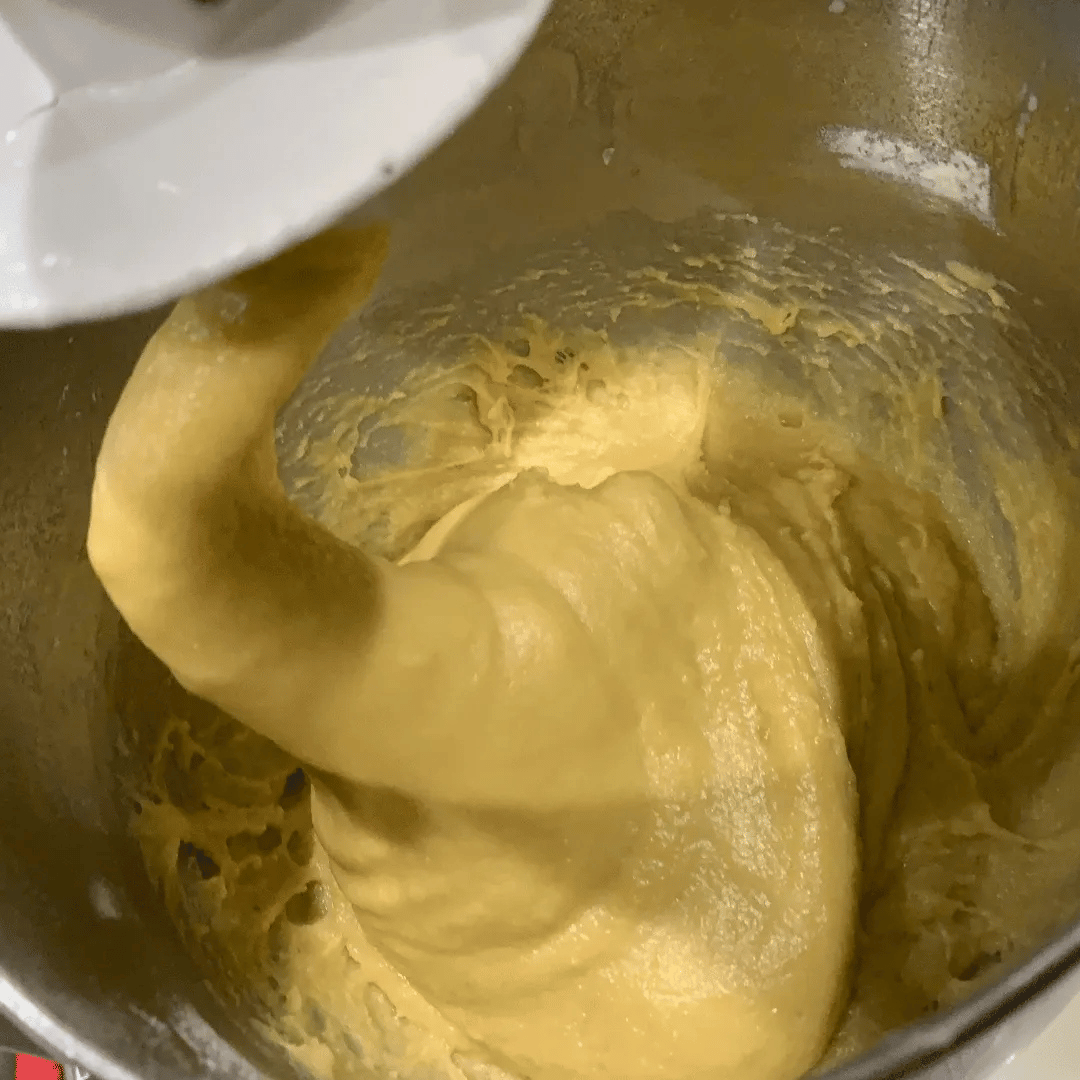
Step 4: Check Dough at 6 Minutes
After mixing, the dough should feel sticky but workable.
Elastic, pliable, and soft to the touch.
It may look a little loose in the bowl, and that’s exactly what you want.
To check the consistency, gently touch the dough with clean hands:
• First, let the dough rest for 1–2 minutes after mixing.
This gives it time to settle and absorb, which can reduce stickiness.
• If it sticks a lot and leaves dough on your fingers:
Add 1 tablespoon of flour and mix for about 1 minute.
• Check again:
If it’s better but still leaves a little dough behind, let it rest for 1–2 minutes.
• If it still needs help:
Add about ½ tablespoon of flour, mix briefly, and check again.
• What you’re aiming for:
The dough should stick slightly but not leave dough on your fingers, that’s perfect.
• Keep in mind:
You’re not trying to fix the dough all at once—just gently adjust it until it feels right
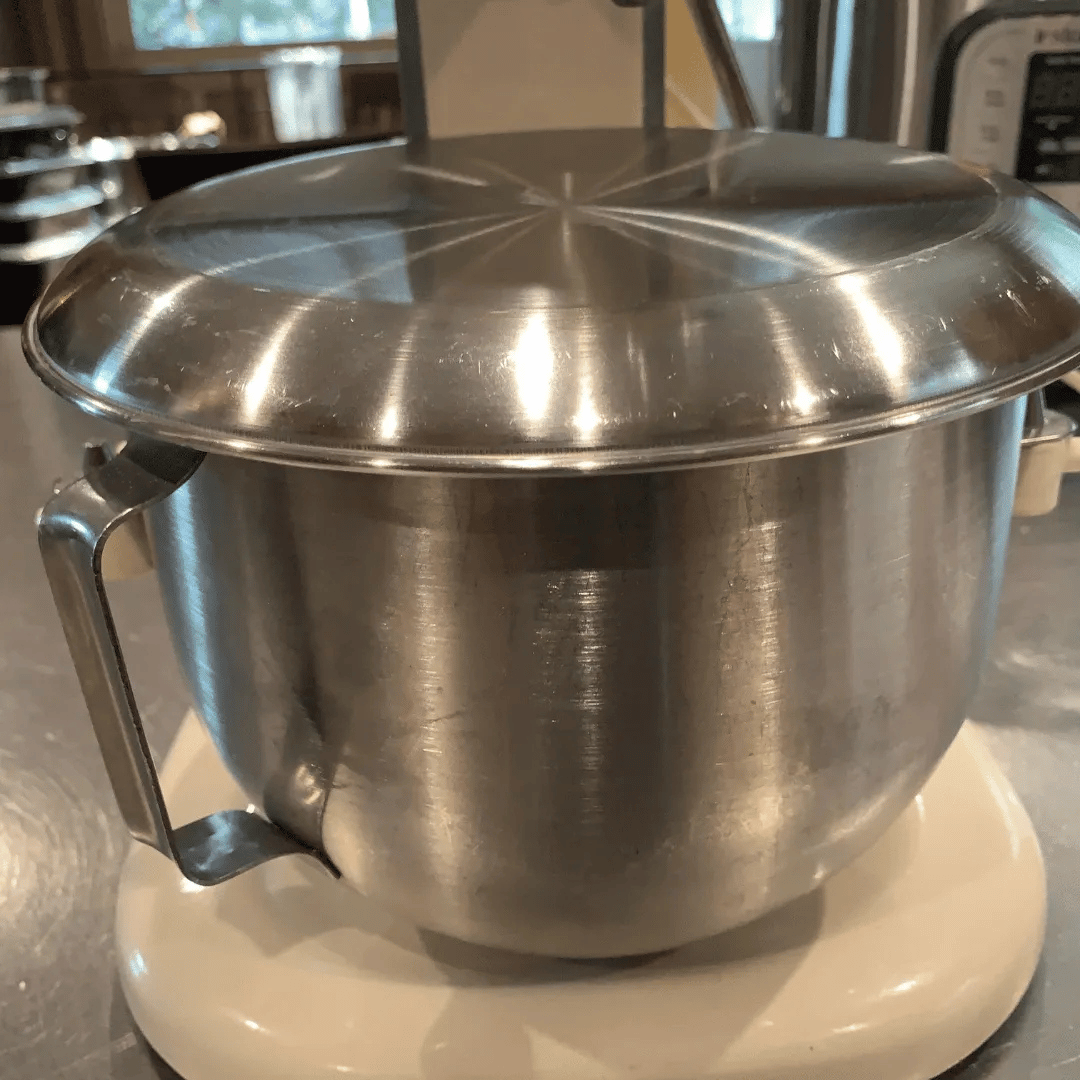
Step 5: Resting Time for the Dough
Leave the dough in the mixer bowl and cover it with a plate or a clean kitchen towel. Let it rest for 15 minutes.
This short rest helps the dough relax, making it easier to shape and giving it that soft, stretchy texture.
Step 6: Tuck and Turn the Dough
After resting, transfer the dough to a clean, lightly greased surface. Using greased hands, gently shape it into a smooth ball.
The dough may feel very soft and a bit sticky, and might cling to the bowl, that’s completely normal.
Use a soft “tuck and turn” motion, cupping the dough and folding the edges underneath as you turn it. This helps create a smooth top without overworking the dough. About 4–5 gentle tucks is perfect.
Once shaped, place the dough in a lightly greased bowl (for the oven or room-temperature method) or in the greased insert of your Instant Pot. Cover with a towel or plate.
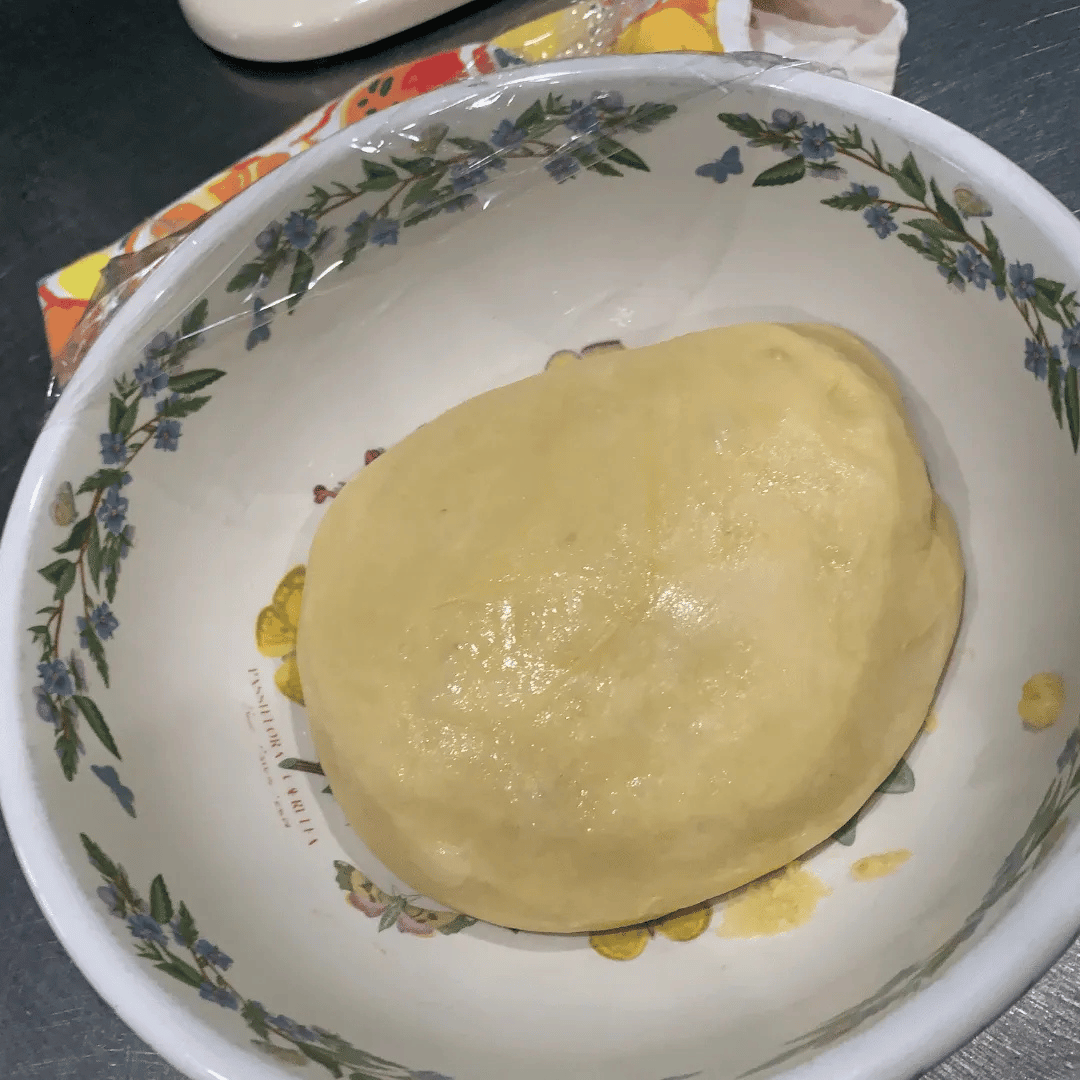
Step 7: Let the Dough Rise
Oven Method
If your oven has a proof setting, place the bowl in the oven and let it rise for about 1 hour, or until doubled in size.
If not, turn your oven on for 1–2 minutes to warm it, then turn it off. Place the bowl in the oven with the light on and let it rise for about 1 hour and 15 minutes, or until doubled in size.
Room Temperature Method
Place the bowl in a warm, draft-free spot. Let it rise for about 1½ to 2 hours, or until soft, puffy, and doubled in size.
Instant Pot
Place the dough in the greased Instant Pot insert and cover with a plate or the pot’s lid (do not seal). Set to the Yogurt setting for about 30 minutes, or until soft, puffy, and doubled in size.
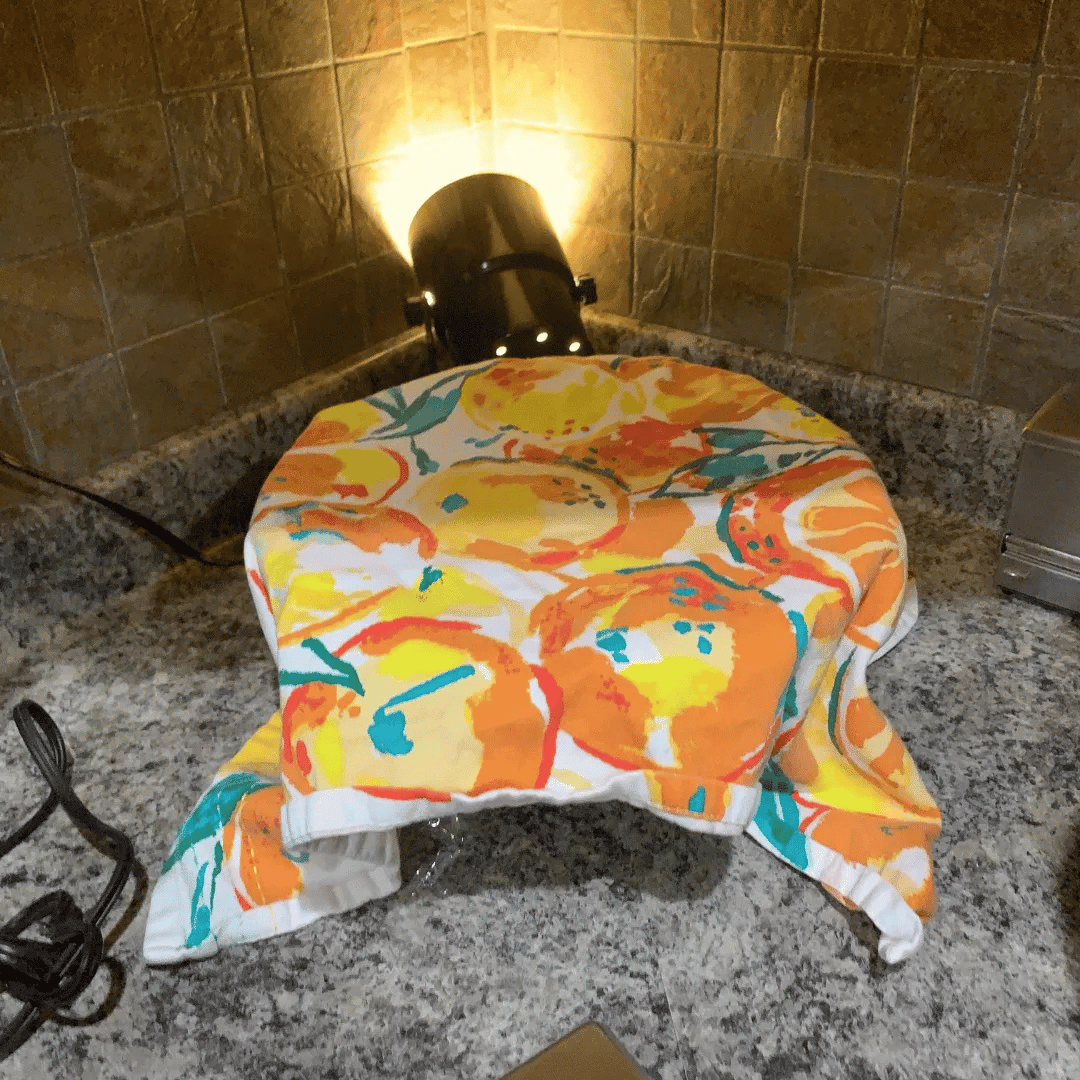
Tucked in and ready for the first rise.
Grandma’s Tip:
Every kitchen is different, so don’t worry too much about the clock. When the dough looks soft, puffy, and doubled in size, it’s ready to move on.
Step 8: Gently Press the Dough Down
Gently press the dough down in the bowl once to release some of the air, soft, not aggressive.
Lightly reshape it into a ball, using a couple gentle tucks if needed.
Cover and return it to your chosen method for the second rise.
Step 9: Once the Dough Has Doubled in Size
Very lightly grease a small area of your work surface. Let the dough fall gently onto a clean surface; no need to punch it down.
Step 10: Dividing the Dough
Using a sharp, non-serrated knife (or a bench scraper), cut the dough cleanly, no sawing.
To divide evenly:
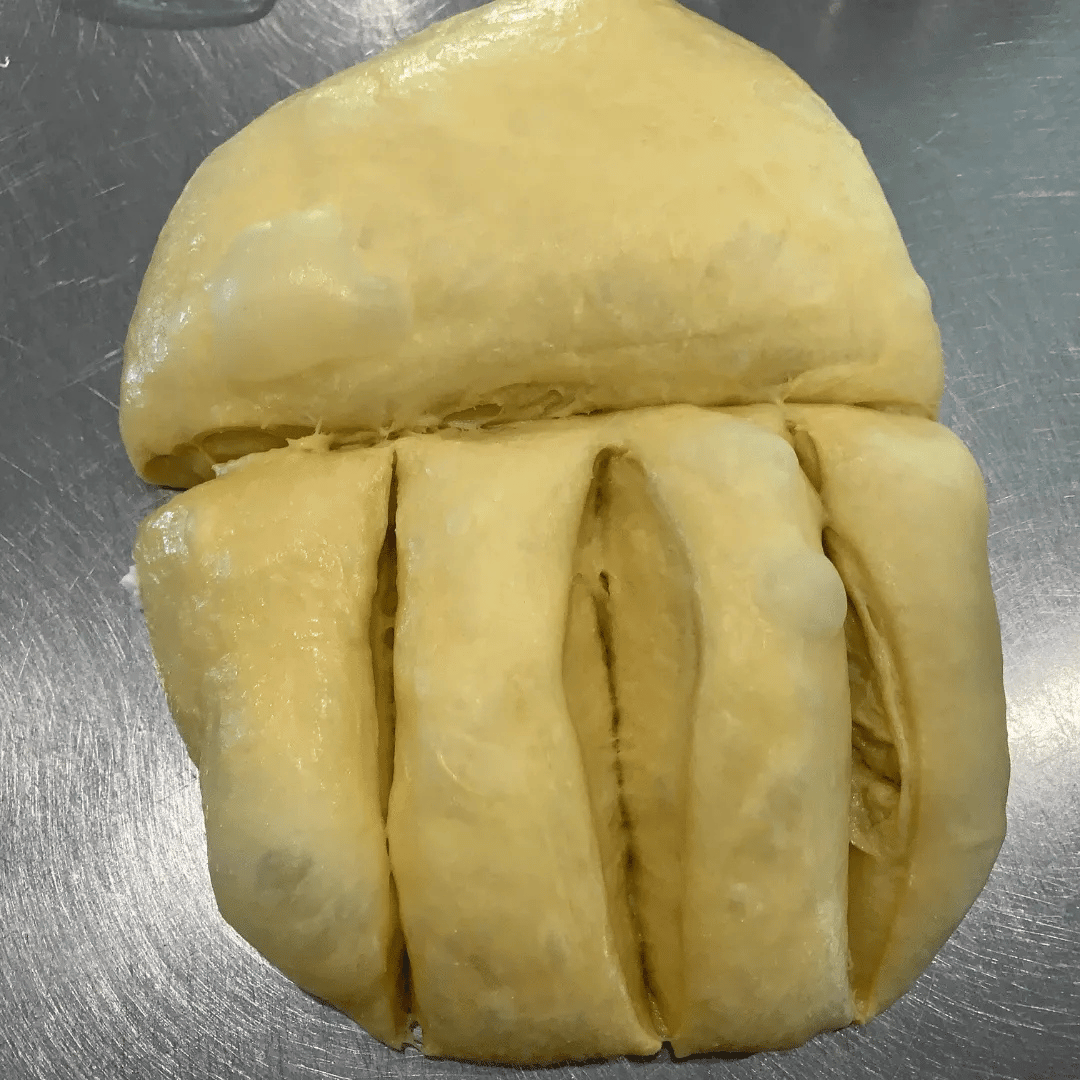
Cut the dough in half.
Cut each half in half again to make 4 pieces.
Cut each of those pieces in half once more, for a total of 8.
If the sizes aren’t perfectly even (like mine in the picture), don’t stress. Just pinch or adjust as needed, close enough is perfect.

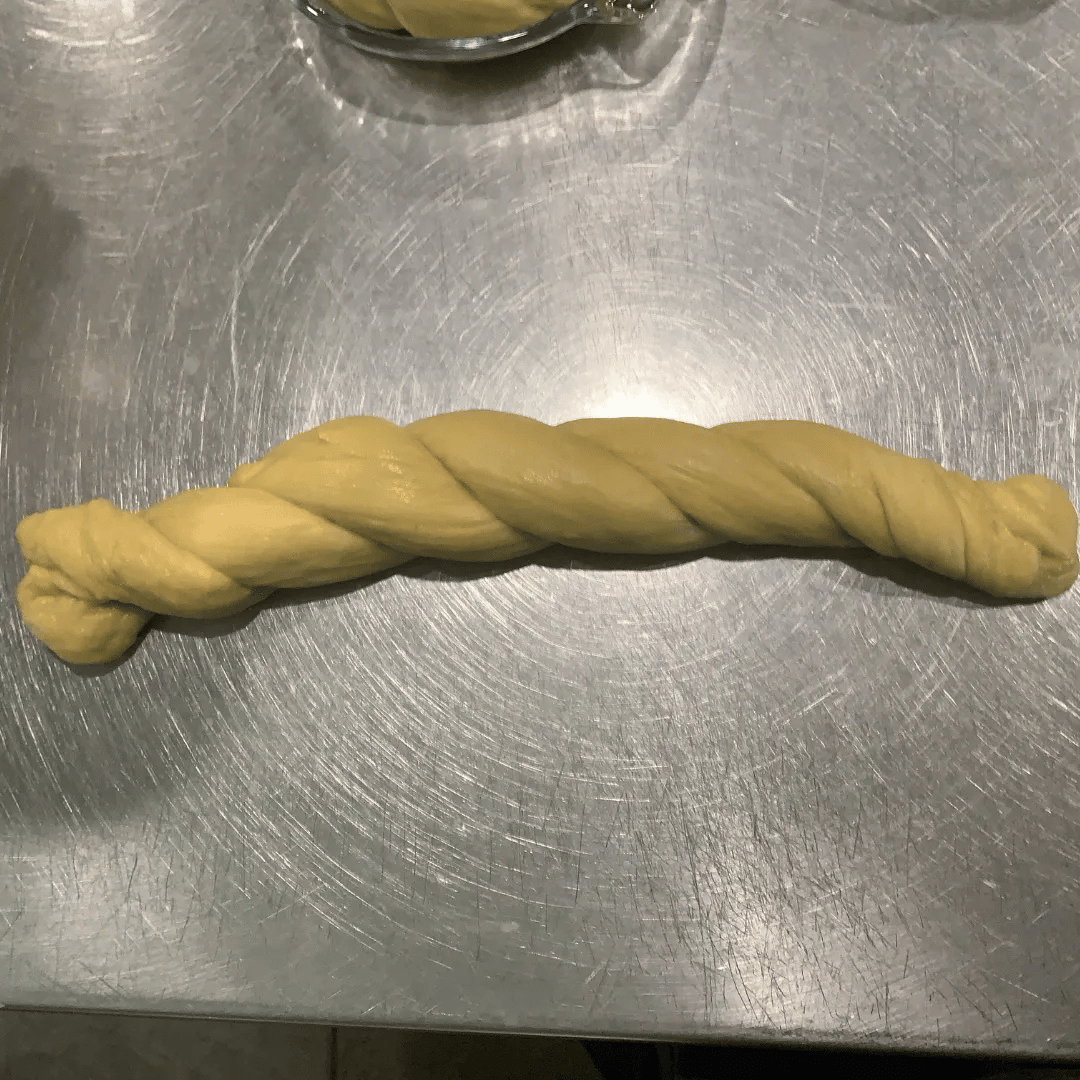
Step 10: Shaping and Braiding the Dough
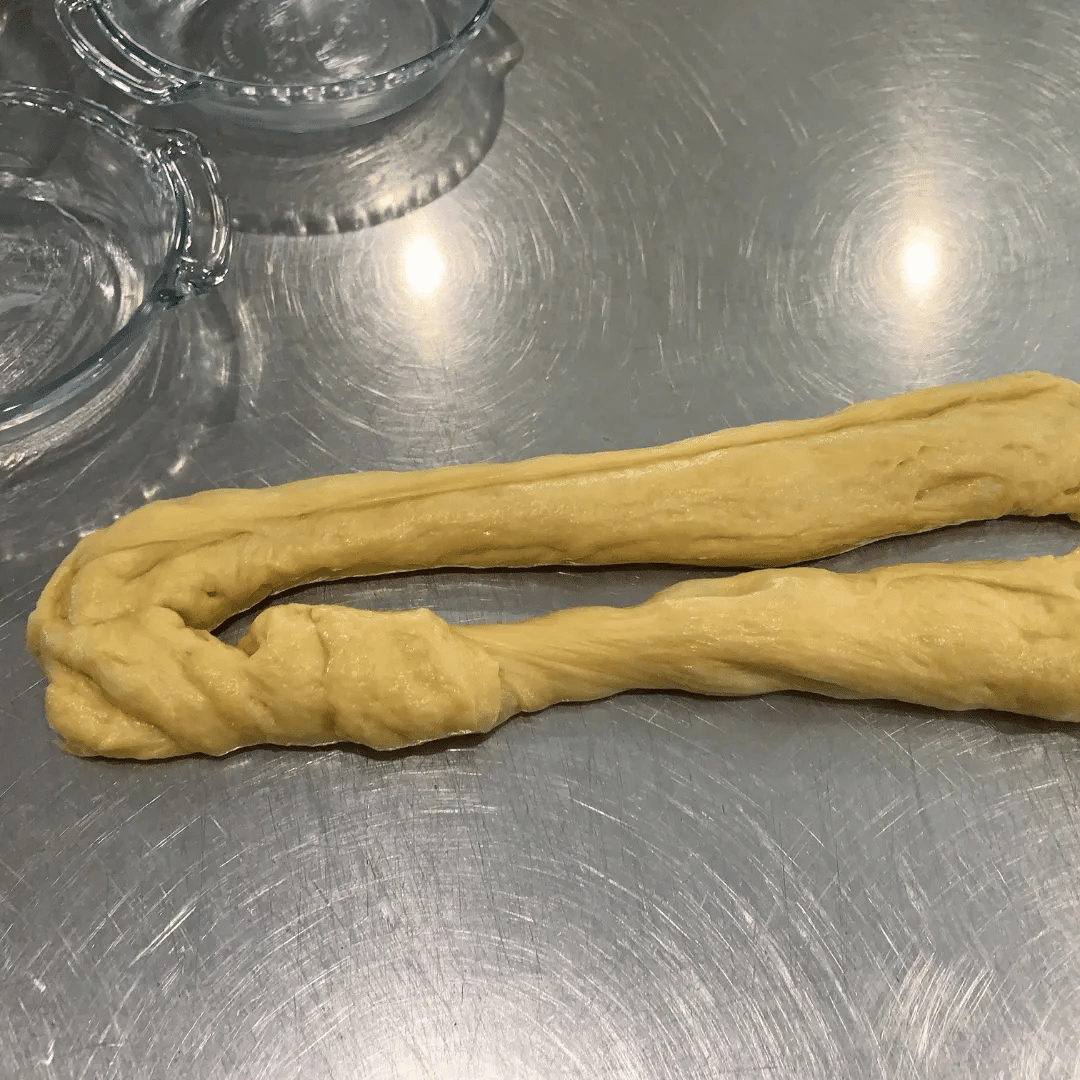
Roll each piece of dough into a rope about 15–16 inches long. You’ll need two ropes per loaf, making four braided loaves.
Lay two ropes side by side and pinch them together at one end. Twist gently to form a braid, then pinch the ends together to finish.
If the dough doesn’t come apart perfectly when you cut it, don’t worry, you can easily piece it back together (like I did in the picture). It will come together as you shape it and won’t affect the final result.
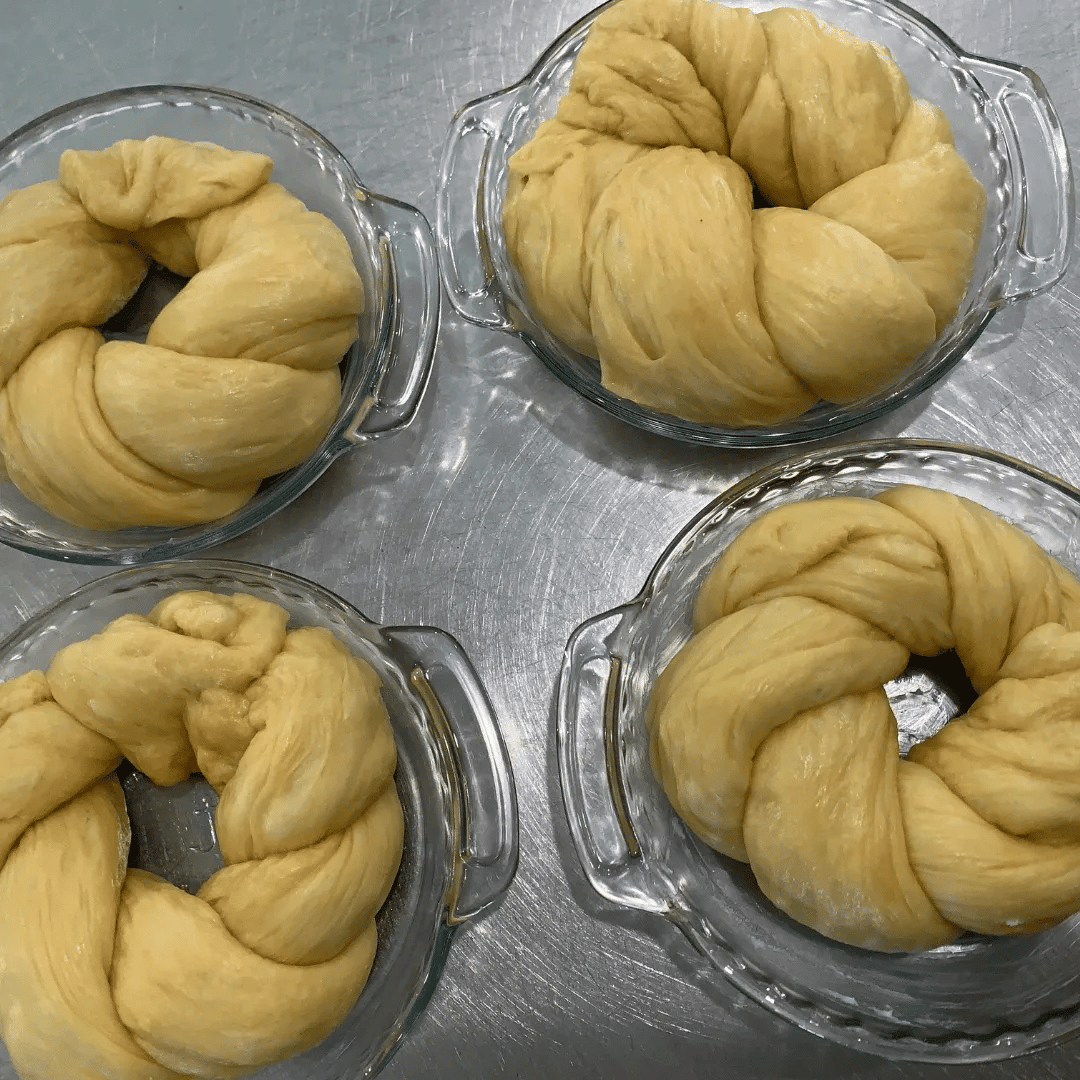
Step 11: Place Each Braided Rope into a Greased 6-Inch Pie Plate in a Circle
Place each braided piece of dough (one twisted rope) into the greased 6-inch pie plate in a circle. Once it’s in place, tuck the ends together to form a nice, round shape.
As you can see in the picture, I pieced together some of the dough after twisting and placing it back in the pie plate. That’s totally fine. The dough will come together beautifully as it rises and bakes.
Now they are ready for the final rise.
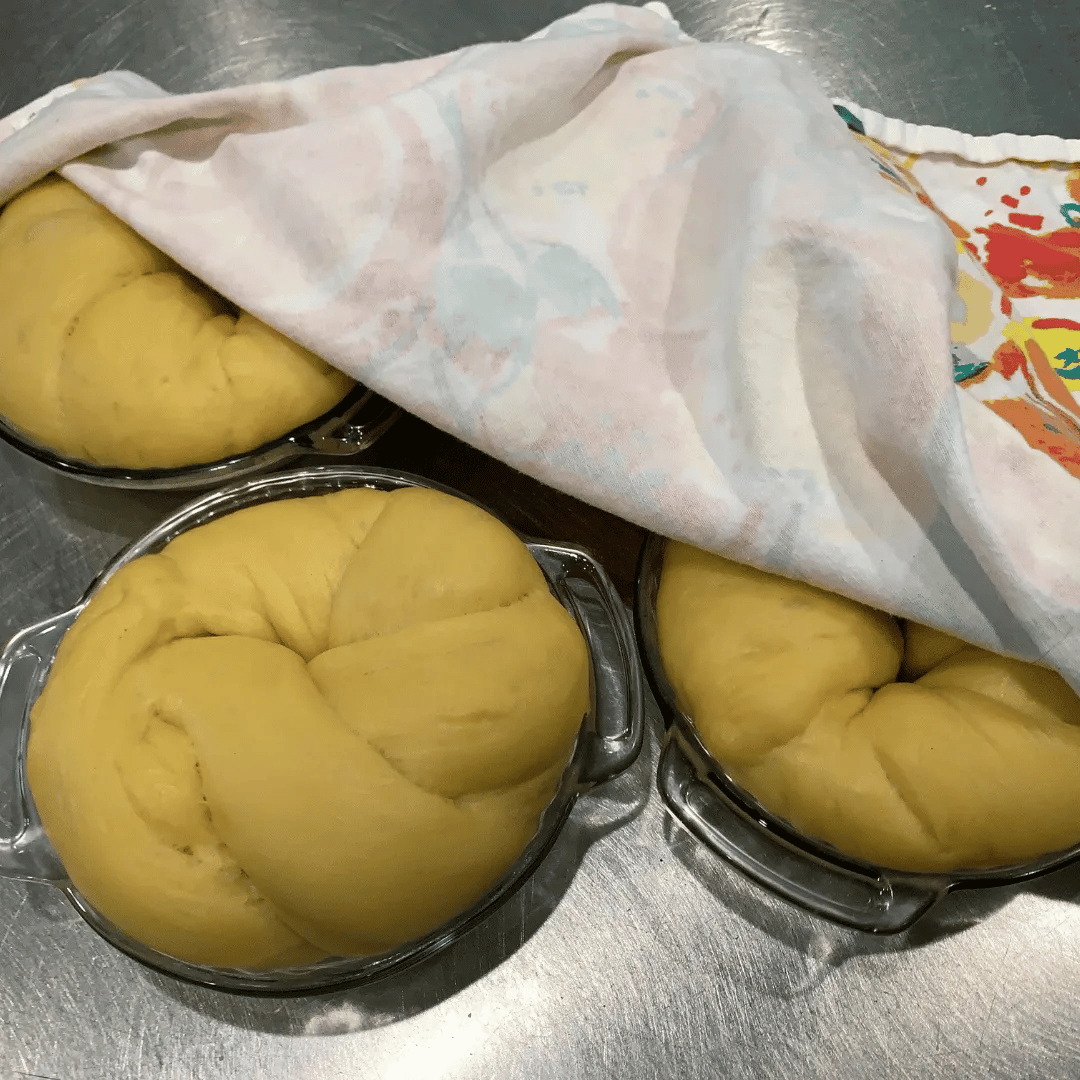
Step 12: Proofing Options for the Final Rise
Cover the plates with a clean flour towel and let the dough rise one last time.
Choose the method that works for you.
Warm Oven Method (Great for cool kitchens):
Turn the oven on for 1–2 minutes, then turn it off. Place the plates in the warm (but turned off) oven and let the dough rise for 1½ to 2 hours.
2. Proofing Oven Method (For anyone who may have an oven with a proofing setting)
Ideal for a gentle, consistent rise. Since this dough is rich with eggs and butter, it takes a bit longer to rise. Start checking around 45 minutes. Full proof usually happens between 50–55 minutes.
3. Room Temperature Method (Simple and reliable):
Cover the plates and set them in a cozy spot if your kitchen is warm.
This method takes a little longer, 2½ hours, but works perfectly without any special equipment.
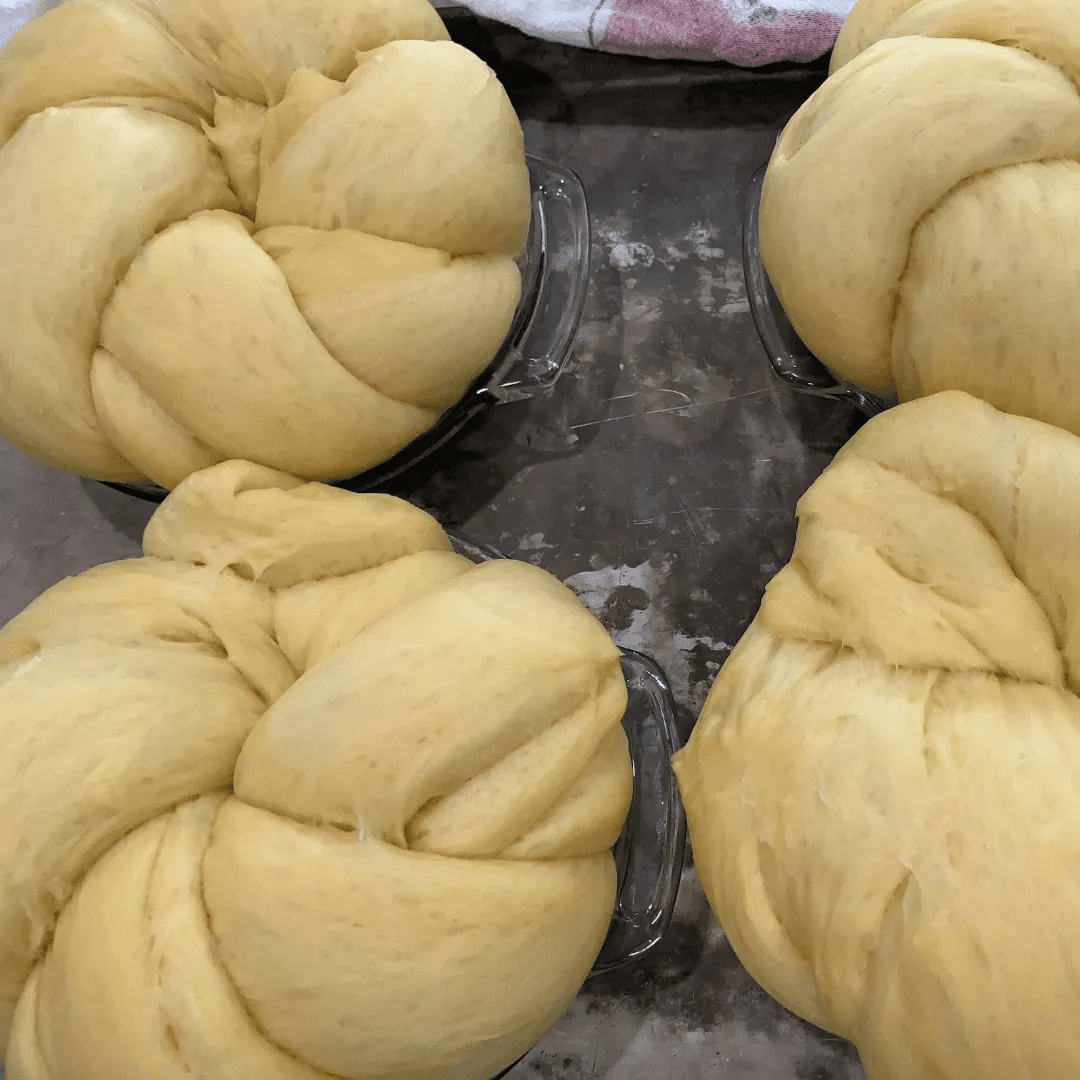
Step 13: Here's What the Dough Should Look Like After the Final Rise
Once the dough has finished its final rise, it should be soft, pillowy, and fill the plate beautifully. It's okay if the braid details have softened a bit; they’ll bake into lovely, risen rings.
Visual Clues:
The dough should swell and fill the plate, with the centers of the loaves gently touching.
The surface will go from shiny to slightly dull.
The loaves will look soft and pillowy.
They may lose some of their braid definition, but that's perfectly fine; they’ll bake up into soft, beautifully risen rings.
Step 14: Time to Bake
If you're using the oven-proofing or oven-raising method, remove the dough from the oven. Preheat your oven to 350°F and position the oven rack at the lowest level. Once the loaves are in the oven, reduce the temperature to 325°F and bake for an additional 20 minutes.
After 20 minutes, reduce the temperature to 300°F and bake for another 6 to 10 minutes, or until the internal temperature reaches 190°F.
Step 15:Check for Doneness
The tops should be golden.
The bottoms should be lightly browned.
Internal temperature should read 190°F if you’re using a thermometer. (But don’t worry if you’re not, just look for a golden top and a firm, lightly browned bottom)
This final check ensures both texture and doneness. Look for a nice golden finish on the outside.
Step 16: Let the Bread Cool
Let the bread cool in the plates for 5 minutes, then remove the loaves from the plates. Place them on a cooling rack and brush the tops with butter.
This is the point where we dig in!
Cool completely on cooling racks for about 2 to 3 hours before wrapping them in plastic wrap.
(If you cover them too soon, the bread will sweat and turn soggy. You’ll know it’s ready when the loaves are at room temperature, around 75°F internal temp. or lower.)
Your kitchen will smell like heaven, sweet and buttery, with a hint of anise. It’s amazing warm with a little butter or toasted the next day.
Bread Chat
Storing & Freezing Tips
These loaves hold up beautifully, even after a few days or when frozen.
To store at room temperature
Once fully cooled, place in a twist-tie baggie or wrap in plastic wrap to keep the air out. It stays fresh for up to 3 days on the counter.
Freezing Easter Bread
Let the loaves cool completely (internal temp around 75°F or lower). Then, wrap each one tightly in plastic wrap, followed by aluminum foil. Place in a freezer-safe bag, pressing out as much air as possible.
Thawing Easter Bread
Remove the bread from the freezer and leave on the counter until thawed, around 4 hours. Unwrap when fully thawed and enjoy.
We like to bake ahead, one loaf to enjoy fresh, and the rest to freeze. We share some with family and save a few for Easter dinner. It's a fun tradition that everyone looks forward to!
Q: Is it important to use the 6-inch pie plates, or can I use a different size?
A: The 6-inch pie plates are my personal twist on the family recipe. For this recipe, my sisters and Grandma always baked two loaves. I switched to four 6-inch pie plates because I love the smaller, shareable rounds, but the original tradition was two larger, beautiful loaves.
If you’d prefer to use the original 9" plates, like grandma used, no problem. Just be aware that the baking time will need to be adjusted. The key is to watch for the golden color or check for an internal temperature of 190°F to ensure it’s fully cooked.
No matter what size plate you use, the bread will come out soft, golden, and full of love, just like Grandma’s.
Q: What if I don’t use the anise extract?
A: The anise gives the bread a distinctly Italian flavor, sweet with a hint of licorice. Leaving it out makes the bread more like paska, a traditional Easter bread in many Eastern European families. Either way, it’s soft, celebratory, and perfect for sharing.
Want to share how your loaves turned out or just say hi? You can reach me here.
If you made it this far, you’re basically part of the family now.
Thanks for baking with me. I hope this brings a little piece of our family’s tradition to your table. 🌞
Quick Recipe Card
Homemade Easter Bread (Grandma’s Recipe)
Yield: 4 small loaves (6″ pie plates)
Prep: 30 min • Rises: 1h15 + 1h15 + 1.5–2h • Bake: ~30–40 min • Total: ~6–7 hrs
Ingredients
6 cups (720g) all-purpose flour
½ cup (100g) sugar
¼ cup (30g) vital wheat gluten (optional)
2 tsp (12g) salt
8 large eggs (about 1⅔ cups / 391g), room temp
½ cup half-and-half (warm ~110°F)
5 tsp instant dry yeast
2 Tbsp (1 oz) anise extract (optional)
½ cup (110g) salted butter, melted & cooled
Steps
Warm half-and-half; melt & cool butter; bring eggs to room temp.
Bowl: flour, sugar, gluten (opt), salt, eggs, anise (opt), butter; add yeast last.
Mix 6–8 min on stand mixer speed 2 until soft, tacky, elastic.
Rest 15 min covered.
Tuck & turn into a smooth ball; place in greased bowl/insert.
Rise 1: ~1h15 (warm oven/light or Instant Pot Yogurt ~30 min or room temp 1½–2h).
Gently deflate, reshape. Rise 2: same times as Rise 1.
Divide into 8; roll ropes 15–16″; twist pairs (4 braids).
Coil each braid in greased 6″ pie plate. Final proof: 1½–2h (soft, pillowy, fills plate).
Bake: preheat 350°F, then bake low rack 20 min at 325°F; reduce to 300°F 6–10 min to 190°F internal.
Cool 5 min in plates; remove to rack; butter tops; cool completely before wrapping.
Storage/Freezing: Wrap airtight up to 3 days; or wrap plastic + foil and freeze. Thaw at room temp; unwrap when fully thawed.