

Grandma’s Homemade Easter Bread

Over 100 years ago, my great-grandmother carried her bread recipe across the ocean to a coal town. My grandma learned it from her, and every Easter, they baked 32 loaves in a single day for families in their community. The air filled with the smell of warm bread.
With no running water at home, they hauled buckets from the coal tipple and baked in outdoor brick ovens, just like they did back home.
My grandma had her own way of measuring, sometimes a handful of one thing, sometimes a coffee cup of another.
Years later, my sisters, Annette and Mary Catherine, helped turn those handfuls into something we could hold onto, so it wouldn’t be lost, and passed it along to me.
It was soft and lightly sweet, with that gentle hint of anise that always meant Easter had arrived, just the way Grandma made it.

The coffee cup Grandma used for measuring.
At A Glance
Total Time: 6–7 hours • Yield: 4 small loaves • Difficulty: Cozy afternoon project
Time Guide: Prep 30 min • 1st Rise 1 hr 15 min • 2nd Rise 1 hr 15 min • Final Proof 1.5–2 hr • Bake & Cool ~1 hr
Welcome
Come on in, grab a cup of coffee, and let’s bake together.
Take a minute to read through the recipe, it’ll make things easier once you start.
Tools & Supplies
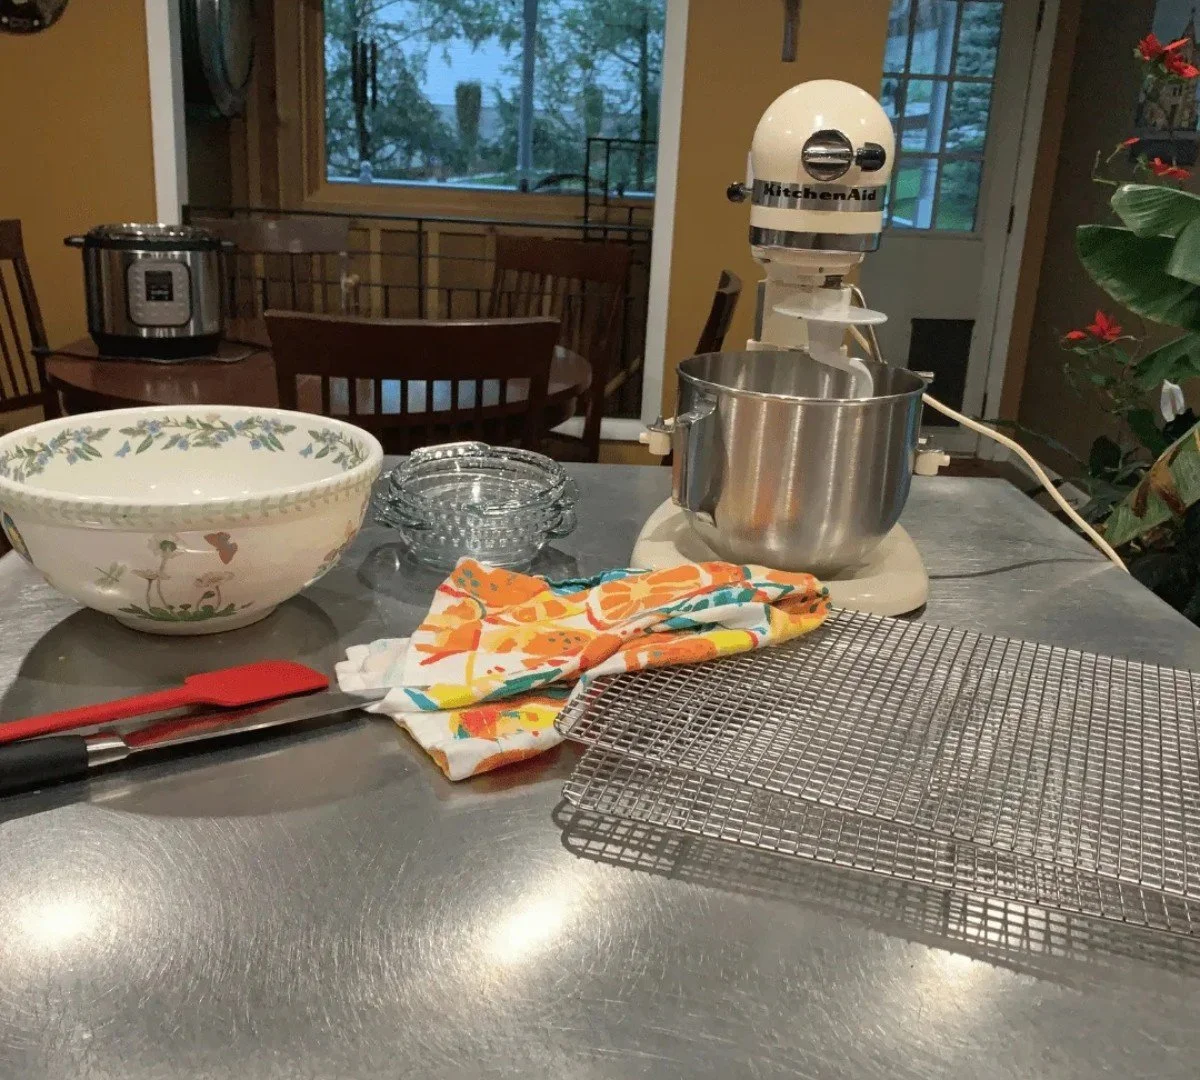
My sisters and I use a KitchenAid mixer for this recipe.
Grandma never used any of the optional items and her loaves were always perfect.
Crisco or nonstick spray
For greasing bowls and platesFour 6-inch pie plates
This recipe makes 4 loavesPlastic wrap
For wrapping loaves after they’ve cooledKitchen towel
To cover the dough while it risesMixing bowls
For mixing and rising the dough.Stand mixer with dough hook
This recipe is written for a stand mixer.
Experienced bakers can knead by hand if preferred.Knife
For dividing the dough.Cooling racks
Helps prevent the bottoms from getting soft as the loaves cool
Optional Items
Baking sheet
For placing the pans on in the ovenThermometer
Helpful for checking liquid temperatureKitchen scale
For more precise measurementsInstant Pot
Can be used as a warm spot for proofingStorage bags
For storing and freezing loavesPlastic bench scraper
For scraping the dough from the mixer bowl.
Ingredients and Prep
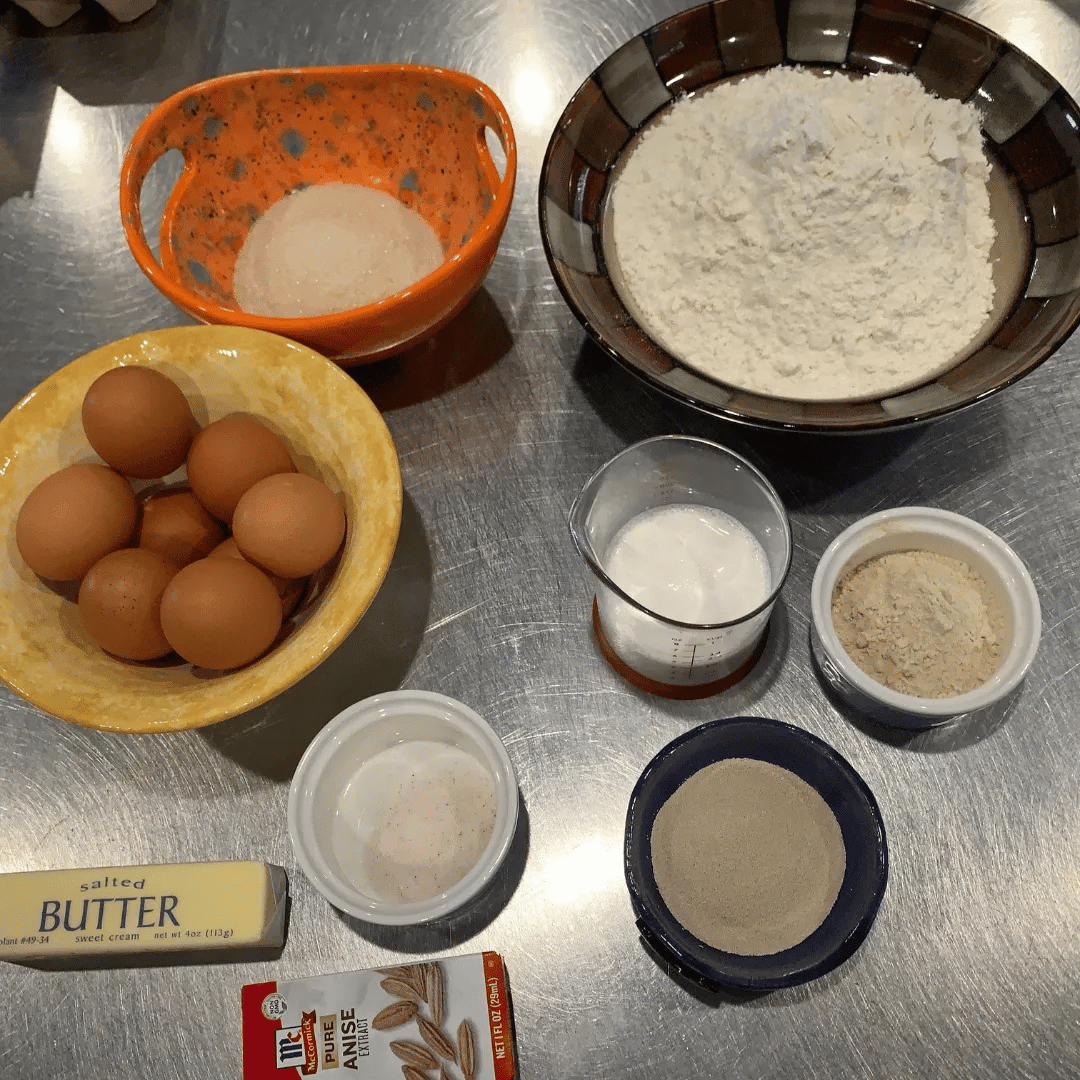
The same simple ingredients from Grandma’s kitchen.
6 cups (720g) all-purpose flour
½ cup (100g) granulated sugar
¼ cup (30g) vital wheat gluten (optional)
2 teaspoons (12g) salt
8 large eggs
2 tablespoons (1 oz) pure anise extract (optional)
1 stick (½ cup / 110g) salted butter, melted
½ cup half-and-half
5 tsp instant dry yeast
Tip
My sister Mary Catherine likes a stronger anise flavor and adds a small bottle of anise oil along with the extract.
Step 1: Prepare Butter, Eggs & Half-and-Half
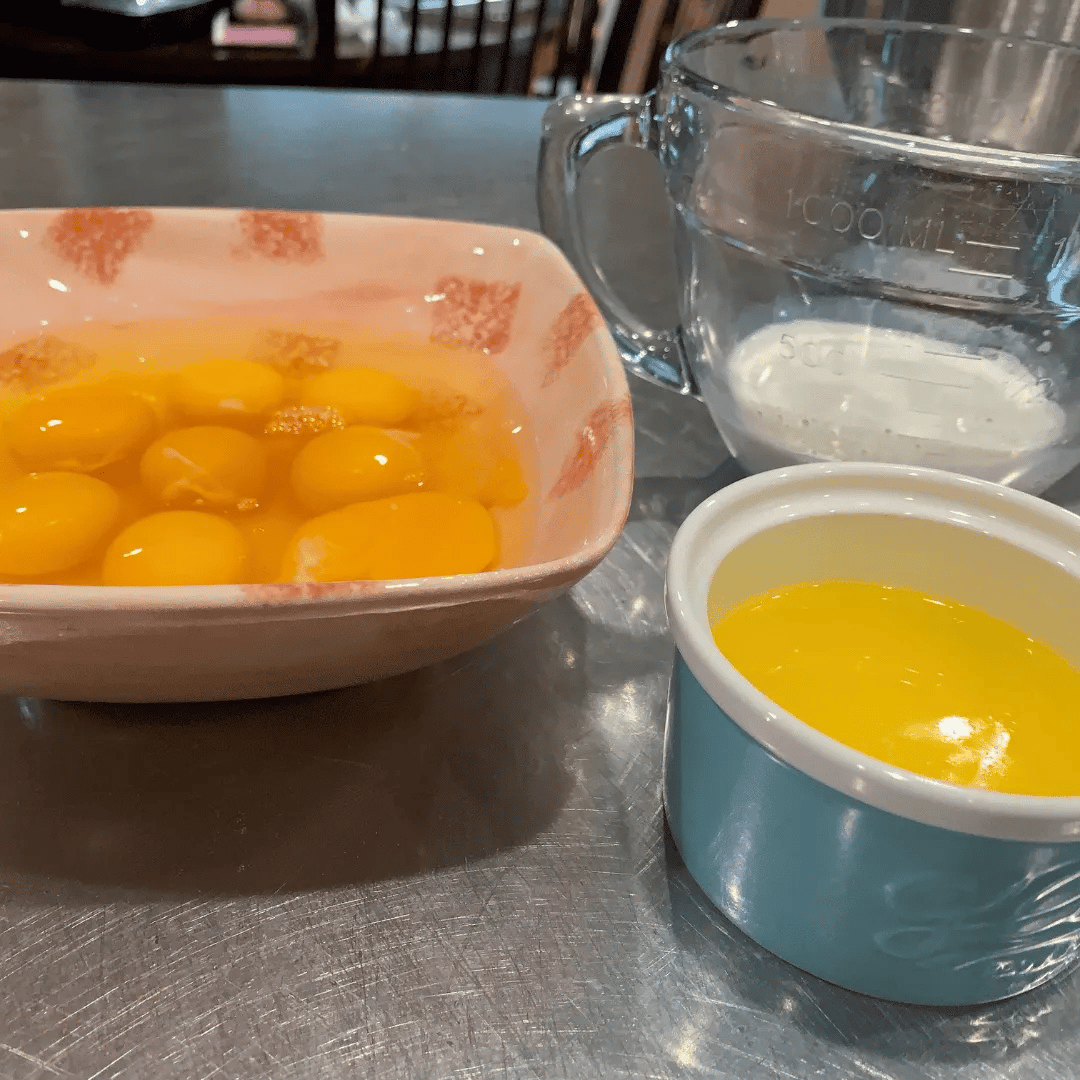
Melt the butter and let it cool (under 100°F).
Let the eggs come to room temperature (or place eggs in shell in warm water for 3 minutes).
Warm the half-and-half (about 105–110°F).
Step 2: Combine the Ingredients
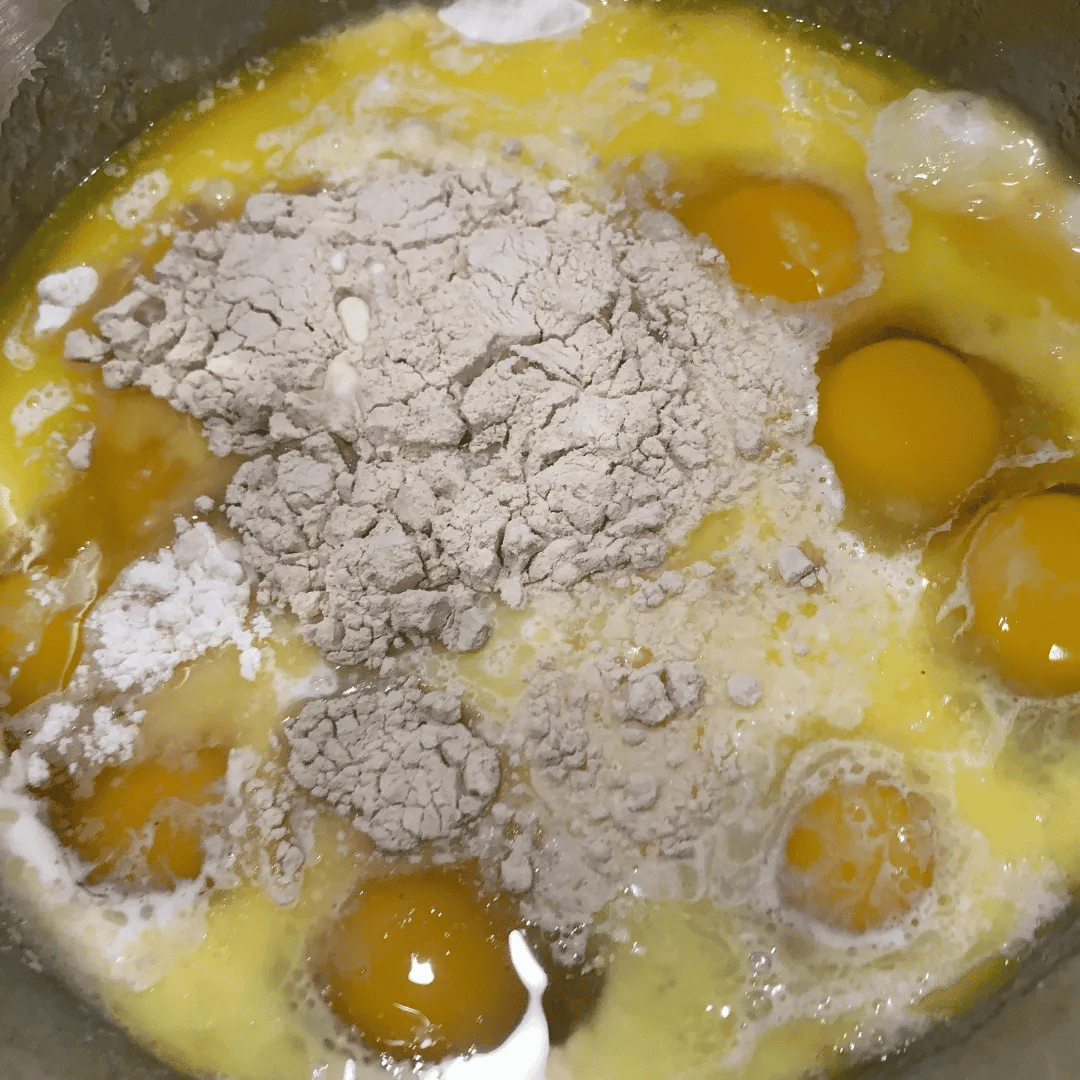
All ingredients in bowl, ready to mix.
In the bowl of a stand mixer, combine:
6 cups (720g) all-purpose flour
½ cup (100g) granulated sugar
¼ cup (30g) vital wheat gluten (optional)
2 teaspoons (12g) salt
8 large eggs
2 tablespoons (1 oz) pure anise extract (optional)
1 stick melted butter
½ cup half-and-half
5 teaspoons instant dry yeast (add last)
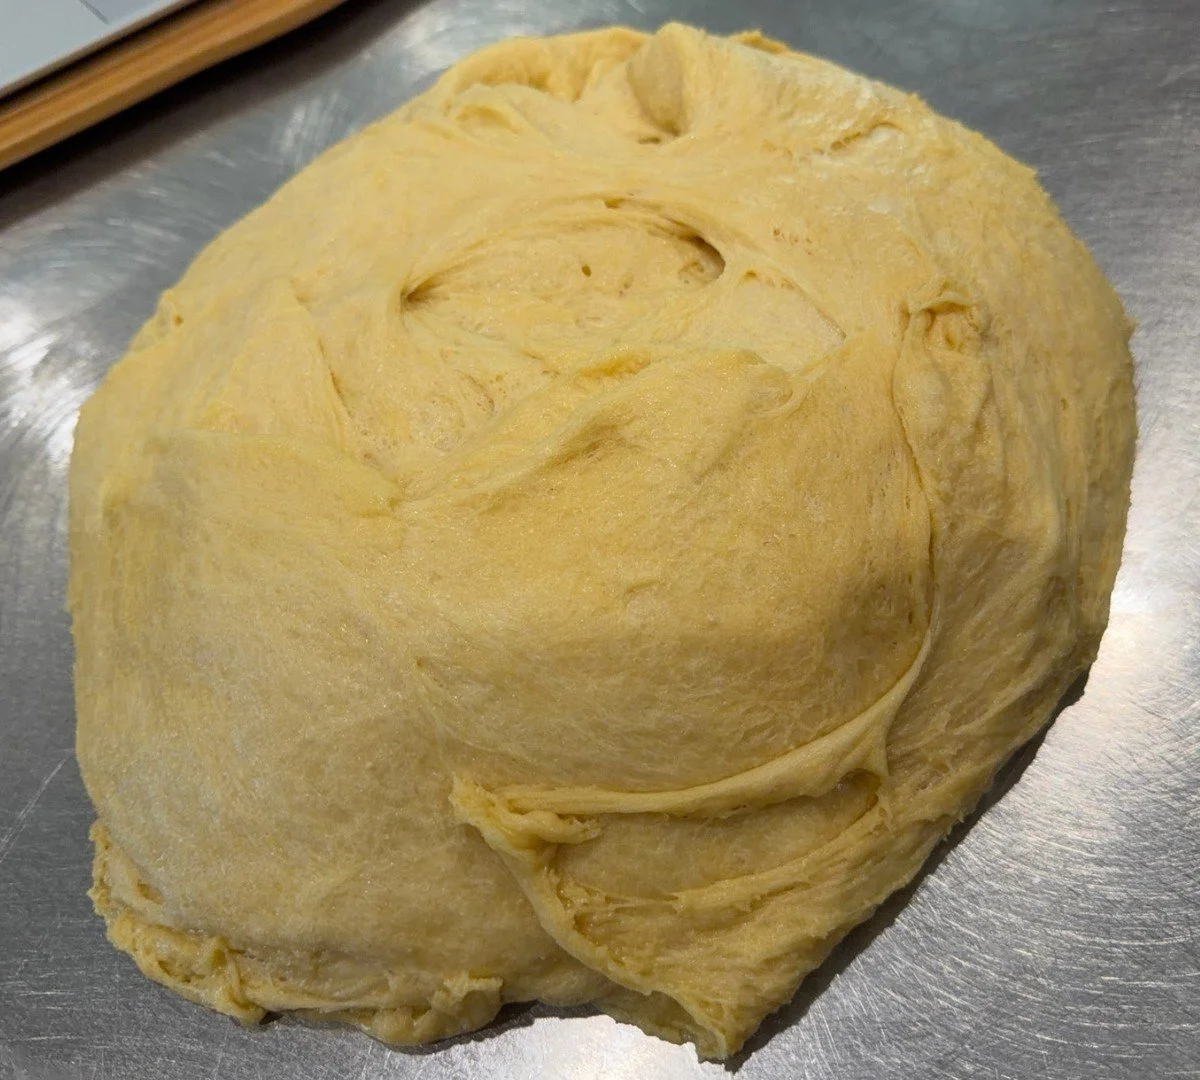
Step 3: Mix and Check the Dough
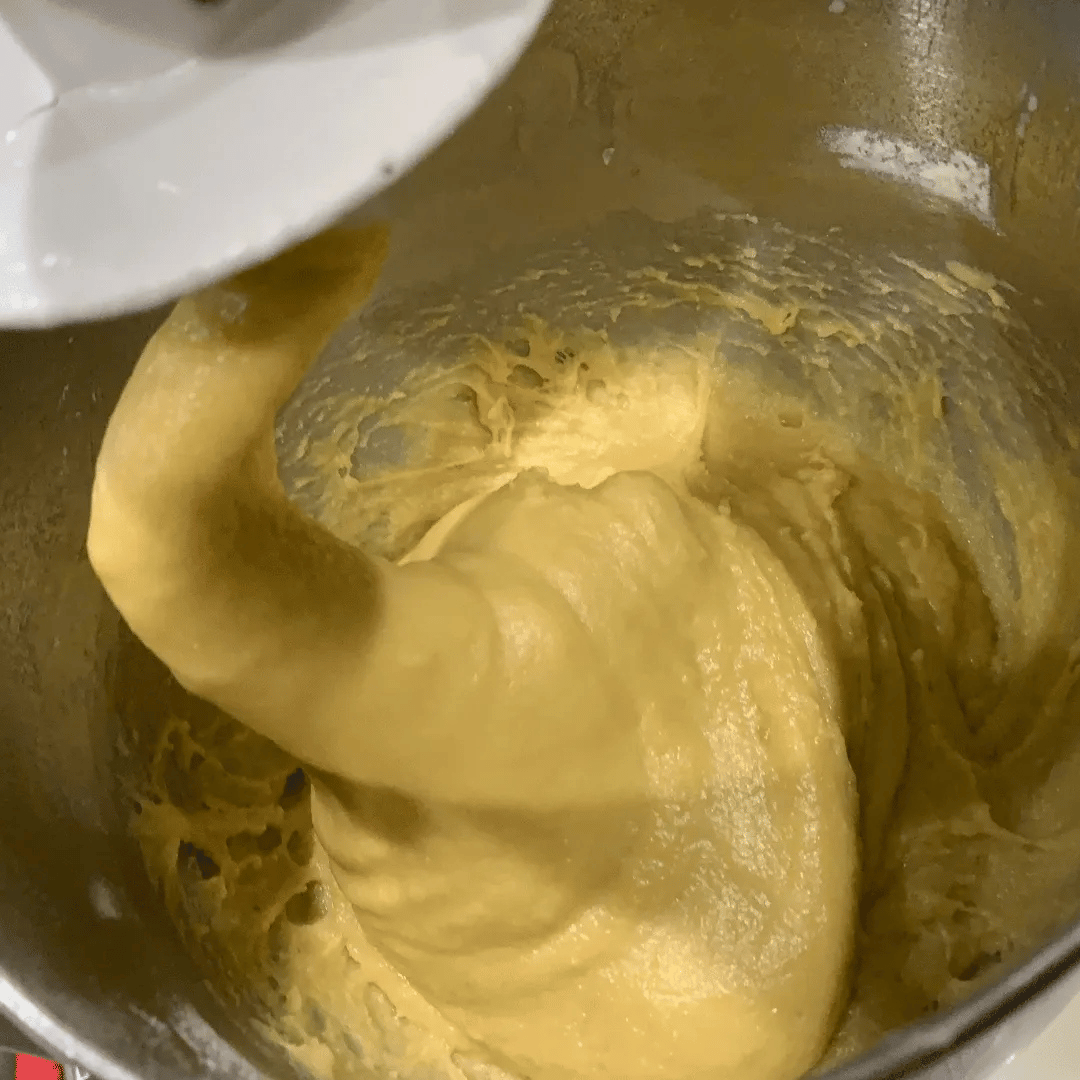
Dough after mixing.
Mix on speed 2 for 6–8 minutes, until the dough is soft and slightly tacky. It will stick to the bowl while mixing. Scrape down the sides once or twice.
To check if it’s ready, gently tap the dough with your finger. A light touch is enough. Pressing too firmly will make the dough stick.
If it sticks and leaves residue, let it rest for 2 minutes, then check again.
If it’s still very sticky, add ½ tablespoon of flour, mix for 1 minute, and check again.
Repeat as needed until the dough feels soft, stretchy, and slightly tacky, but not sticky to your fingers.
Step 4: Rest the Dough
Cover the bowl with a plate and let the dough rest for 15 minutes.
Step 5: Shape the Dough
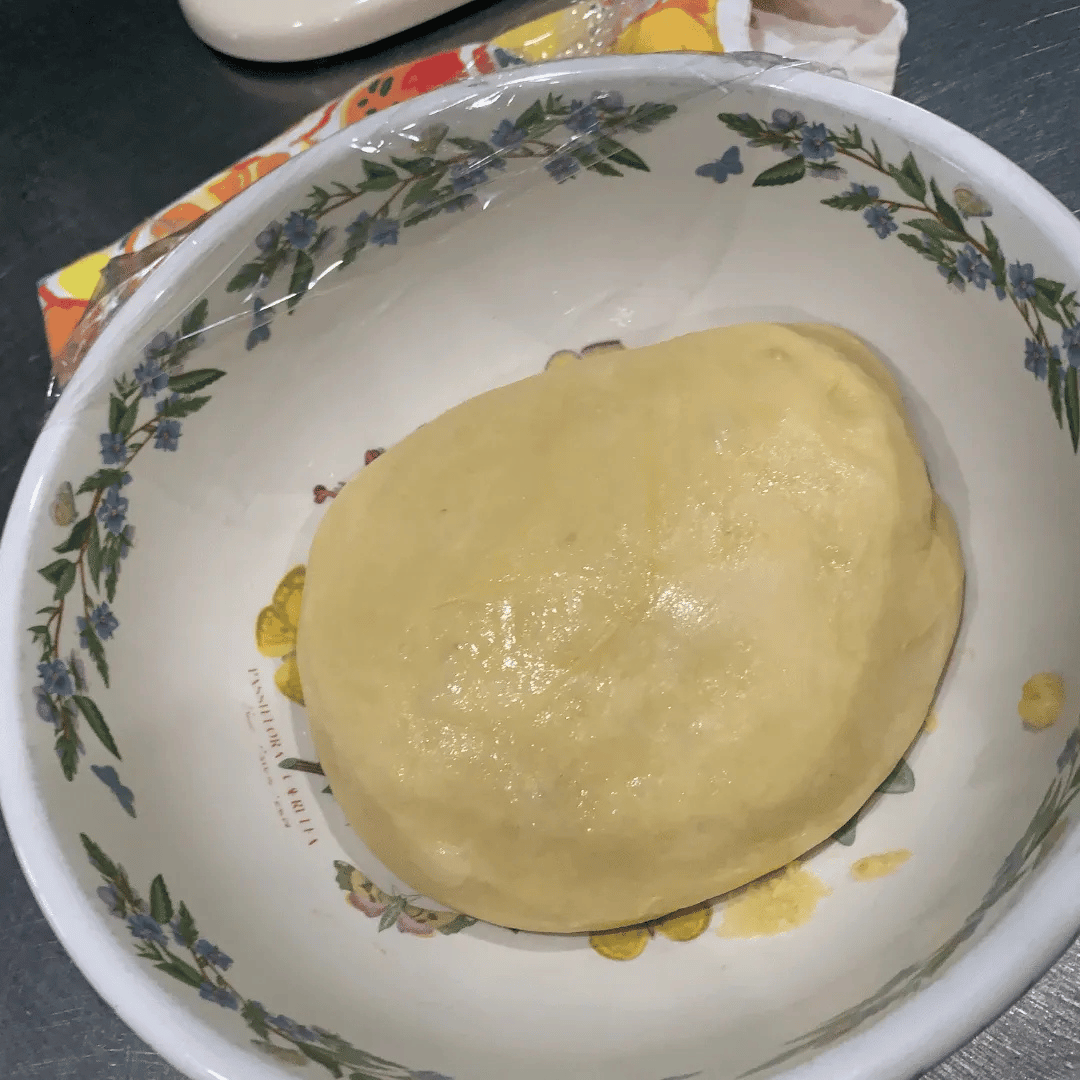
Dough shaped into a smooth ball.
After resting, lightly grease a clean bowl.
Use greased hands (and a bench scraper if you have one) to transfer the dough from the mixer bowl into the greased bowl. The dough will be sticky and may cling to the bowl. A lightly greased bench scraper can help lift it out more easily.
Lift the dough slightly and use a “tuck and turn” motion to form it into a ball. Fold the edges underneath as you rotate it 4 to 5 times, creating a smooth top without overworking it. Shape it right over the bowl so it falls back into place.
Cover the bowl with a kitchen towel.
Step 6: First Rise (Until Doubled in Size)
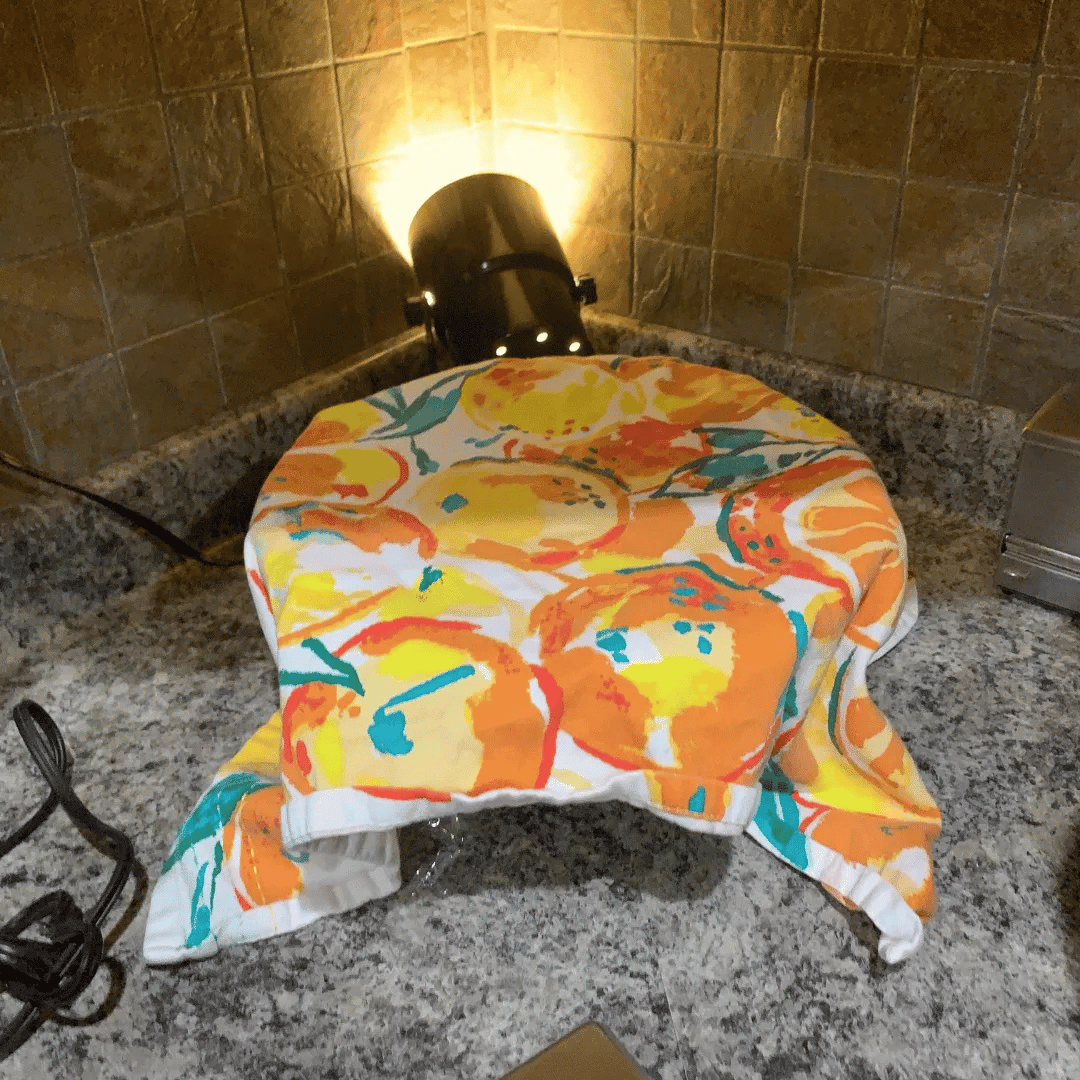
Let the dough rise at room temperature in a warm, draft-free spot until doubled in size (about 1 to 1½ hours).
See below for other options.
Oven Method (Proofer Setting)
If your oven has a proof setting, place the bowl in the oven and let it rise for about 1 hour.
Oven Method (No Proofer)
Turn your oven on for 1 to 2 minutes to warm it, then turn it off. Place the bowl in the oven with the light on and let it rise for about 1 hour and 15 minutes.
Instant Pot Method
Place the dough in the greased Instant Pot insert and cover with a plate or the pot’s lid (do not seal the lid). Set to the Yogurt setting for about 30 minutes.

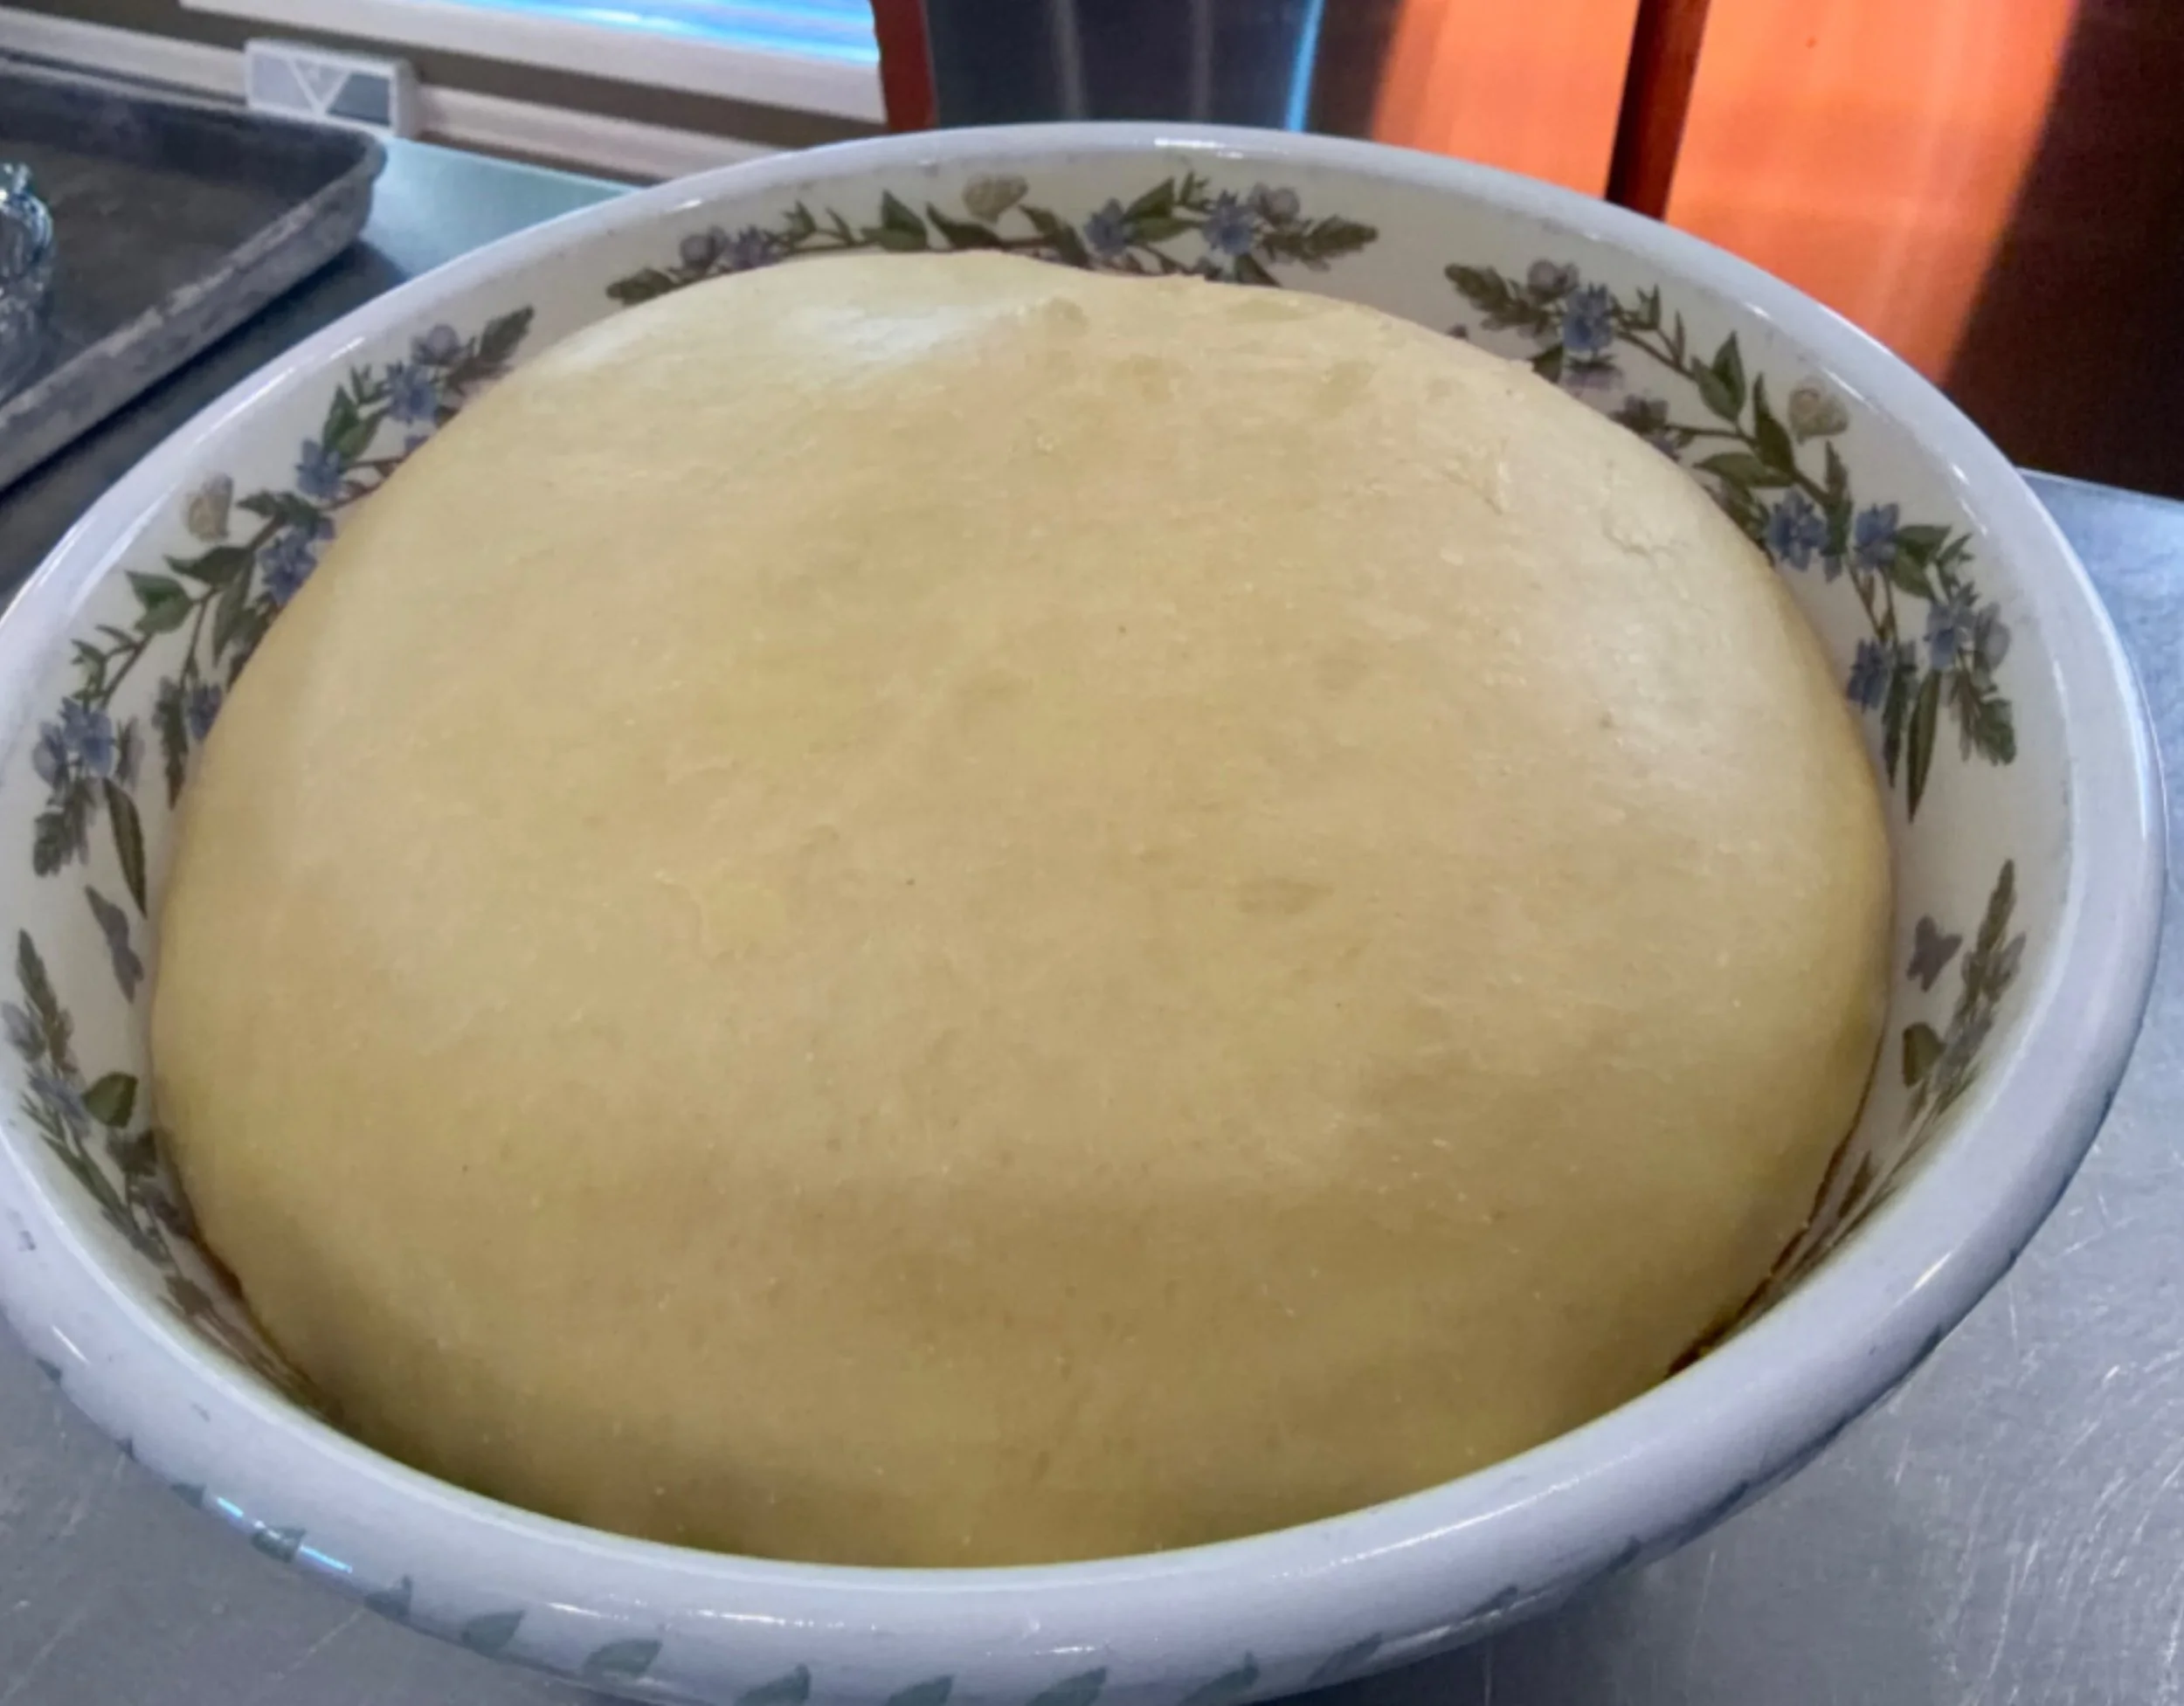
Dough after the first rise.
Doubled in size, smooth, and slightly domed.
Step 7: Deflate and Second Rise
Gently press the dough down, then reshape it into a ball with 2 to 3 tucks.
Cover and let rise again until doubled in size and slightly domed.
Step 8: Turn Out the Dough
Turn the dough out onto a lightly greased surface.
Step 9: Divide the Dough
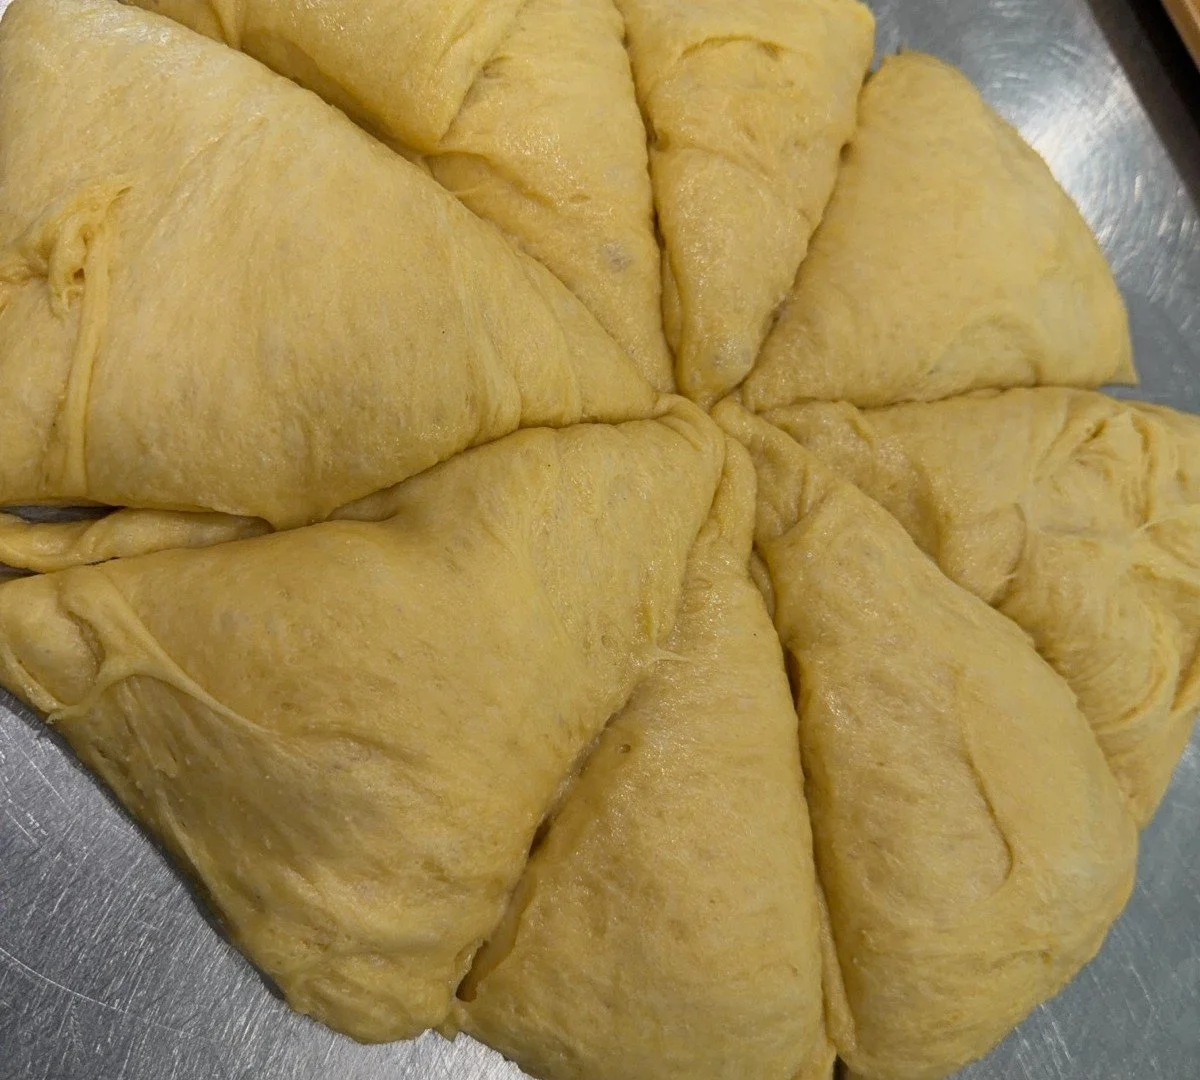

Divide dough into 8 pieces.
Using a greased knife, cut the dough cleanly, without sawing, to make 8 pieces for shaping.
To divide evenly:
Cut the dough in half.
Cut each half in half again to make 4 pieces.
Cut each of those pieces in half once more, for a total of 8.
If they’re not perfectly even, just pinch or adjust as needed.
Step 10: Braid the Dough
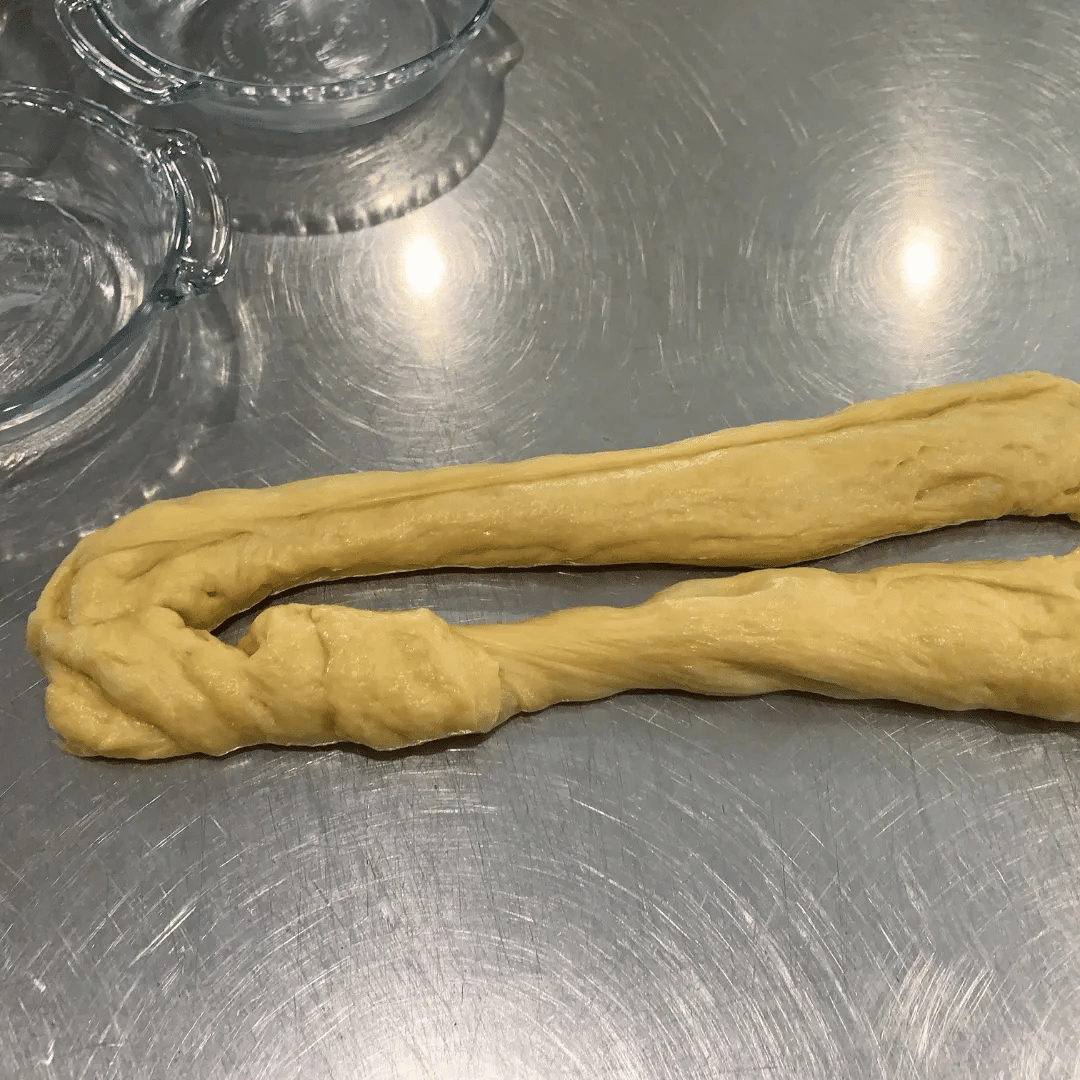
Dough rolled into two ropes, ready for braiding.
Roll each piece into a 15-inch rope. Use two ropes per loaf (four loaves total).
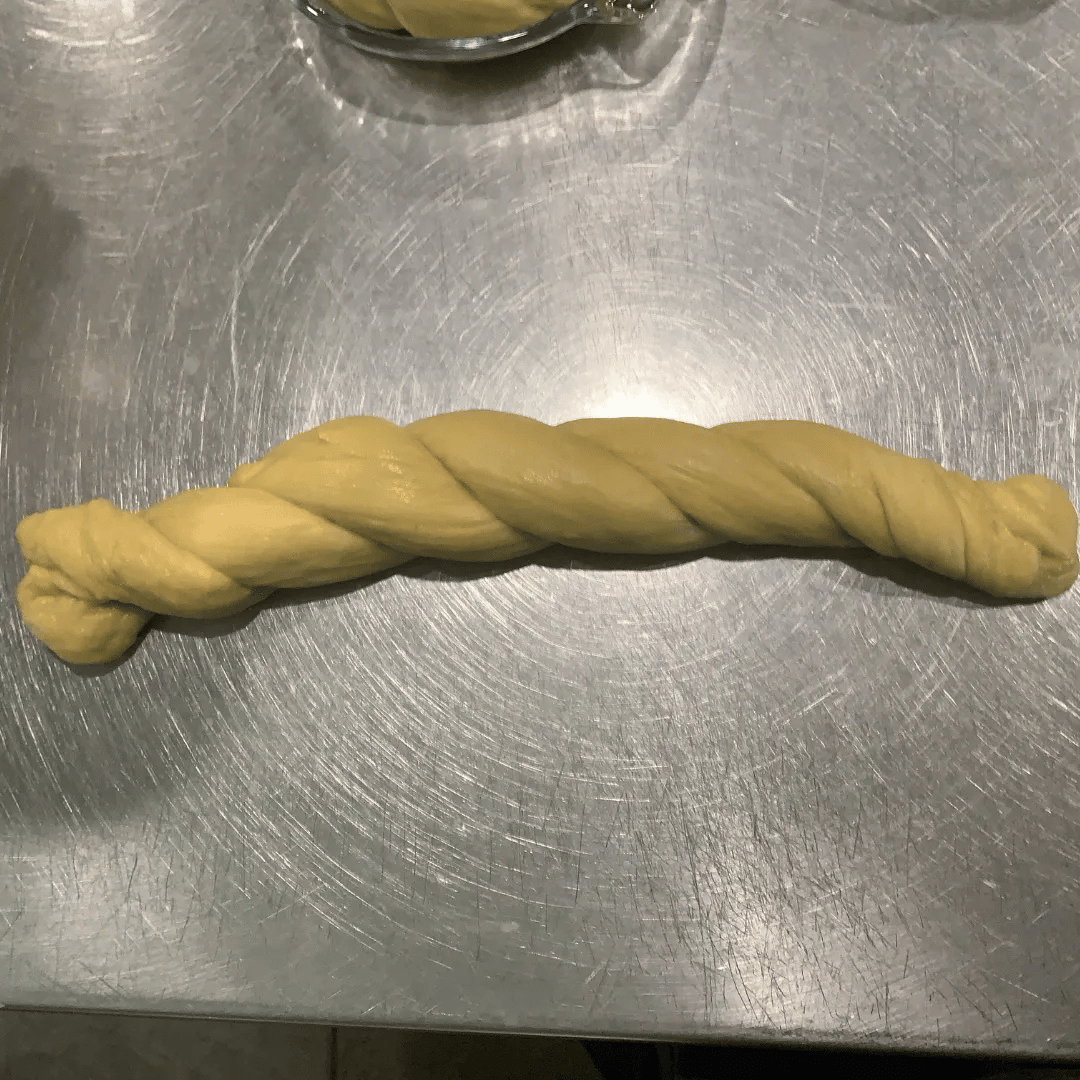
Twist two ropes together, then pinch the ends to seal.
Step 11: Form the Dough into Circles
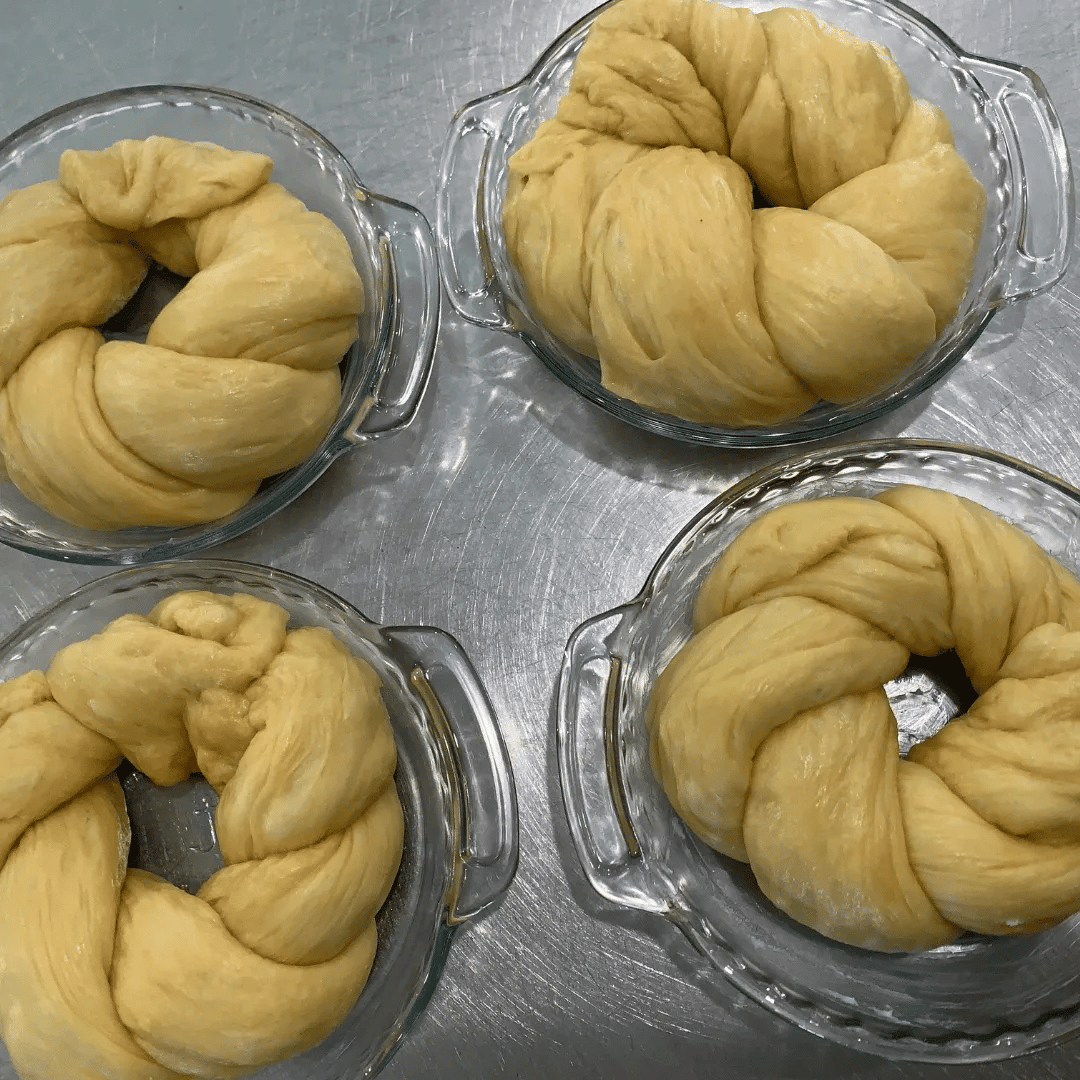
Place each braid into a greased 6-inch pie plate,
then tuck the ends together to form a circle.
Step 12: Final Rise
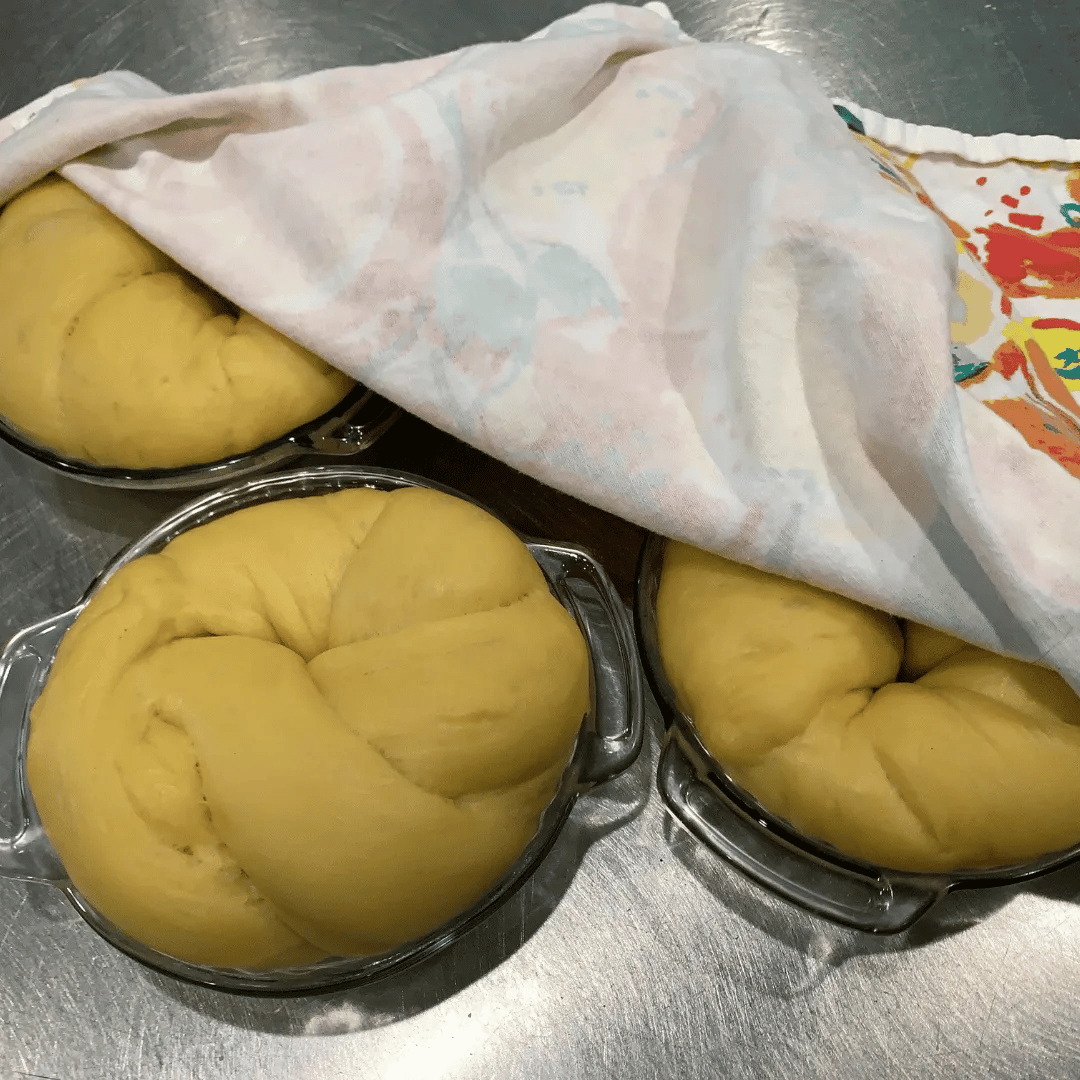
Fully risen dough ready to be baked.
Cover and let the dough rise until fully risen.
Room Temperature Method
Place in a warm, draft-free spot. Let rise for about 2½ hours, until pillowy and fully risen.
Oven Method (Proofer Setting)
Place the plates in the oven and set to proof. Start checking around 45 minutes. They’re usually ready in 50–55 minutes, when light, airy, and fully risen.
Oven Method (Without Proofer Setting)
Turn the oven on for 1–2 minutes, then turn it off. Place the plates inside the warm oven and let rise for 1½ to 2 hours.
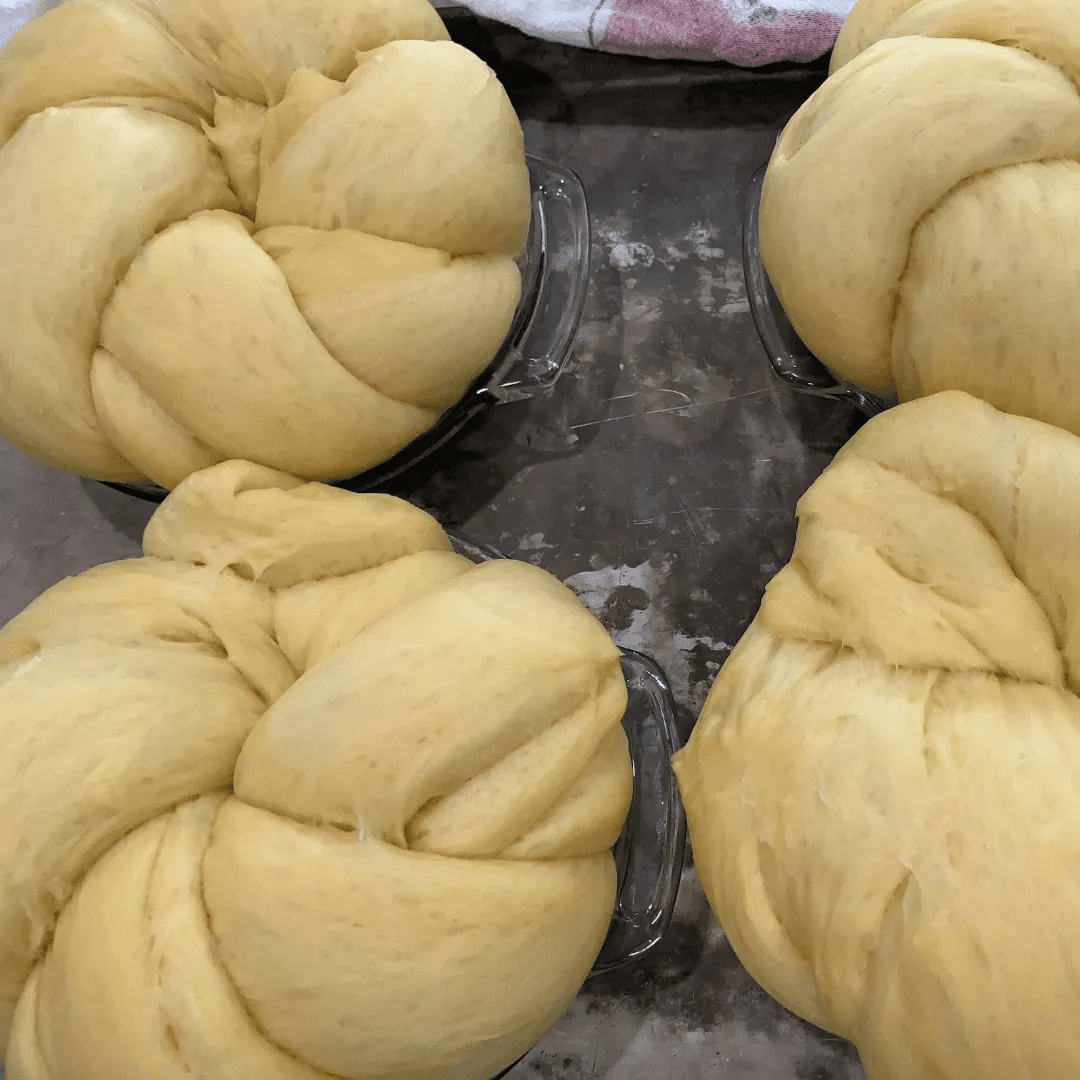
Fully risen and ready to bake.
The dough should fill the plate, with the centers gently touching. It should have a slightly dull surface and feel light and airy. If it still looks tight or shiny, let it rise a little longer.
Step 13: Bake
If the dough is in the oven, remove it. Preheat the oven to 350°F with a rack in the middle.
Place the loaves in the oven.
Reduce the temperature to 325°F and bake for 20 minutes.
Reduce the temperature to 300°F and bake for another 6 to 10 minutes, until the internal temperature reaches 190°F.
Step 14: Check for Doneness
The bread is done when it reaches 190°F, or when golden on top with a firm, lightly browned bottom.
Step 15: Let the Bread Cool
Let the bread cool in the plates for 5 minutes, then remove the loaves and place them on a cooling rack. Brush the tops with butter.
Cool completely (about 3 hours) before wrapping. Covering too soon can make them soggy.
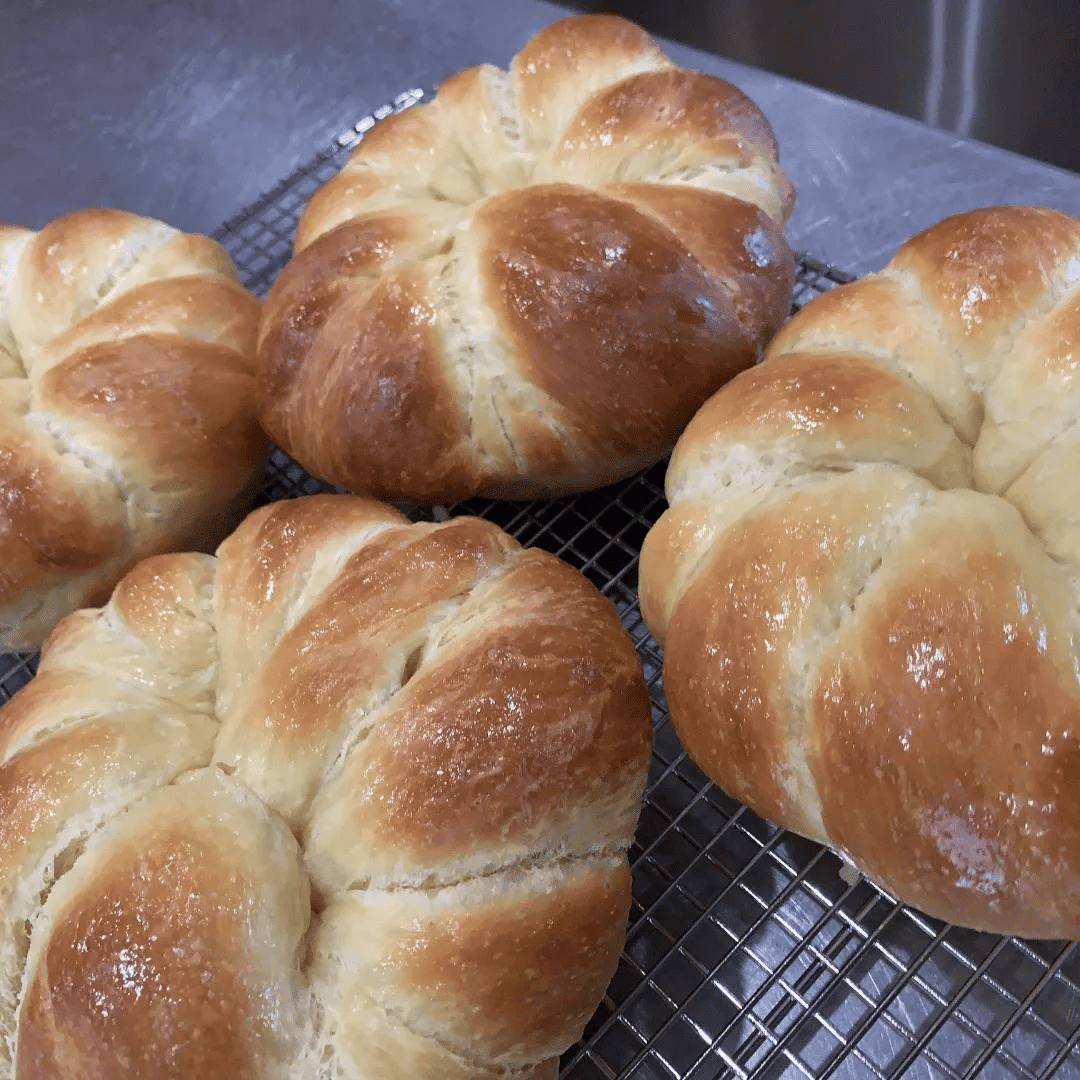
Freshly baked Easter bread.
Golden brown, soft, and ready to enjoy.
Storing & Freezing Tips
To store at room temperature
Once fully cooled, wrap tightly in plastic to keep the air out. Store on the counter for up to 3 days.
To freeze
Wrap each loaf tightly in plastic wrap, then in foil, and place in a freezer bag. Freeze for up to 2 months.
Thawing Easter Bread
Let thaw at room temperature, still wrapped, until soft.
To refresh
Warm in a 300°F oven for about 10 minutes to bring back that fresh-baked softness.
Bake Ahead
We like to bake ahead, enjoying one loaf fresh and saving the rest for family or for Easter dinner.
I hope this brings a little piece of our family’s table to yours.